Cloud: REST-Web Services Action
(Requires CCM) The Invoke Web Service from URL Action can be used to integrate with an external server or application, such as auditing external systems.
Refer to EFT Web Service for information about enabling the Web service in EFT.
The Web Service allows you to initiate an Event Rule from an external application, such as an enterprise scheduler. After the Event Rule finishes dispatching, the Web service responds with an XML document that consists of a single "Result" element. Adding an advanced property/ registry setting described in the Knowledgebase article linked below will modify the original response to add context variables that are in the XML document, from which you can then parse out values with another application.
To define the Invoke Web Service Action
-
Add the Event to the Event Rule (for example, File Downloaded).
-
Add any (optional) Conditions.
-
Add the Cloud: REST-Web Services Action.
-
Click any links in the Action to open the Cloud: REST-Web Services dialog box.
-
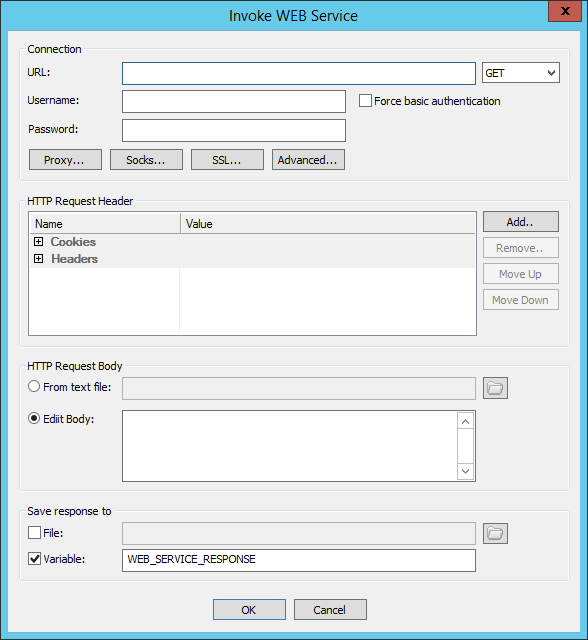
In the URL box, provide the URL on which to perform the Invoke Web Service Action.
-
Select the drop-down list to specify GET, POST, PUT, or DELETE.
-
In the Username and Password boxes, provide the credentials needed to log in to the URL.
-
(Optional) If you connect to the URL through a proxy server, click Proxy and then specify the Proxy type, Host name, Port, Username, and Password. Refer to Proxy Settings Dialog Box for details.
-
(Optional) To specify an Authentication Type and login sequence, in the Proxy Settings dialog box, click Advanced. The Advanced Proxy Settings dialog box appears. Refer to Advanced Transfer Options for details.
-
(Optional) If you connect to the URL through a Socks server, click SOCKS. Refer to Using a SOCKS Proxy Server for details.
-
(Optional) If you chose a protocol that uses SSL (FTPS or HTTPS), provide the client and remote server's SSL certificate information. Refer to SSL Options Dialog Box for details.
-
In the Invoke Web Service dialog box, in the HTTP Request Header area, do the following:
-
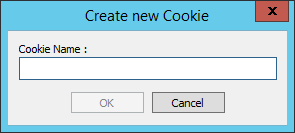
Click Cookies, then click Add to create a new cookie, provide a name for the cookie, then click OK.
-
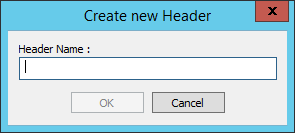
Click Headers, then click Add to create a new header, provide a name for the header, then click OK.
-
-
In the HTTP Request Body area, do one of the following:
-
Select From text file, then specify the text file from which to use the text.
-
Select Edit Body, then specify the text to use in the body of the HTTP Request.
-
In the Save response to area:
-
Click OK.

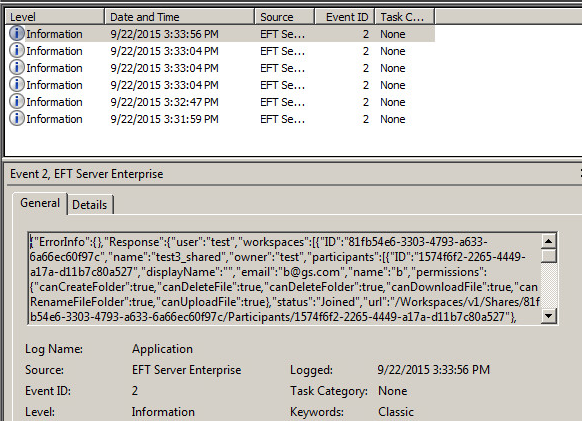
You can use this variable within the same Event Rule call, such as to write to the Windows Event Log:
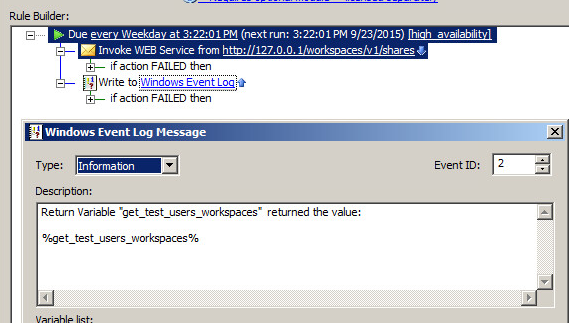
As shown below, when the Event is triggered, the Log reports the value of the response variable get_test_users_workspaces.