Upgrading EFT
For a successful upgrade, it is important to understand the changes between your current version and the version you are upgrading to. In some cases, you will need to do a "stepped" upgrade, as you can't upgrade directly from some older versions to the current version.
-
If you are upgrading a cluster node, refer to Active-Passive Failover Clustering--Installing or Upgrading or Active-Active HA Cluster - Installing or Upgrading the Server .
Before upgrading your EFT installation to EFT v8.1, please read and understand the information provided in the Knowledgebase article Upgrading to EFT v8.1.
To upgrade EFT and its modules
-
Close all unnecessary applications so that the installer can update system files without rebooting the computer.
-
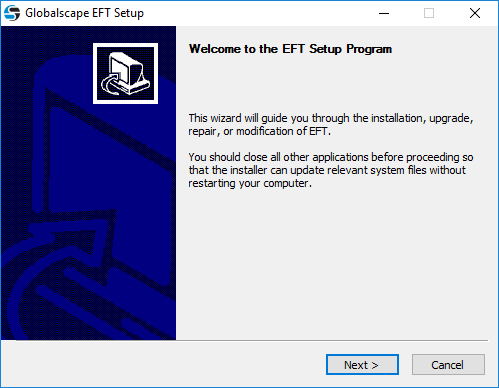
Start the installer. The Welcome page appears.
-
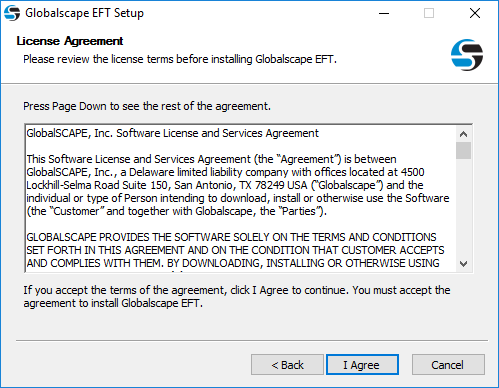
Read the Welcome page, and then click Next. The License Agreement page appears.
-
Read the license agreement, and then click I agree to accept it. Clicking Cancel aborts the installation.
-
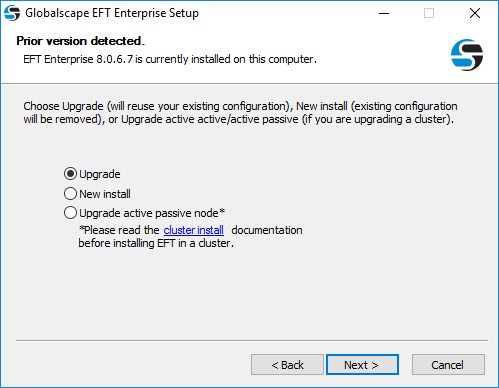
If you are upgrading or reinstalling, the version detected page appears.
-
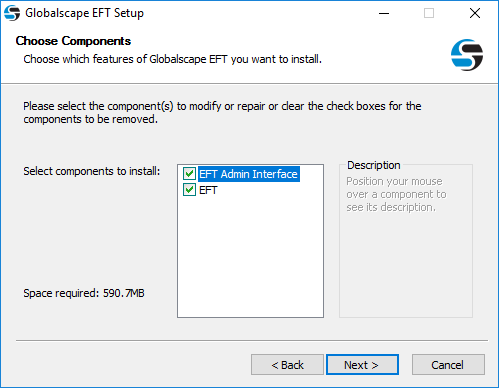
Click Upgrade then click Next. The Choose Components page appears.
- Click Next. The ARM selection page appears.
-
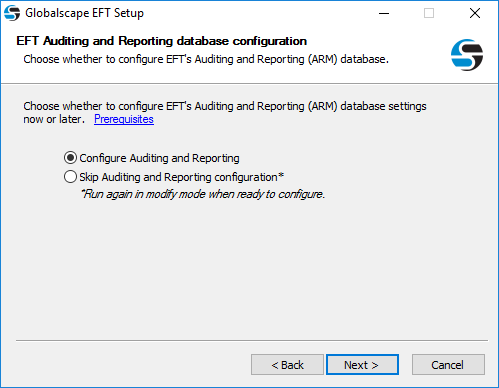
If you want to configure auditing and reporting, click Next.
-
If you do not want to configure auditing and reporting, click Skip auditing and reporting configuration, and then click Next to skip the database configuration pages. You can still configure the database later, if you want.
-
If you want to manually create the database later, click Skip auditing and reporting configuration, and then refer to Manually Creating the ARM Database in SQL Server or Manually Creating the ARM Database in Oracle when you're ready to create the database.
-
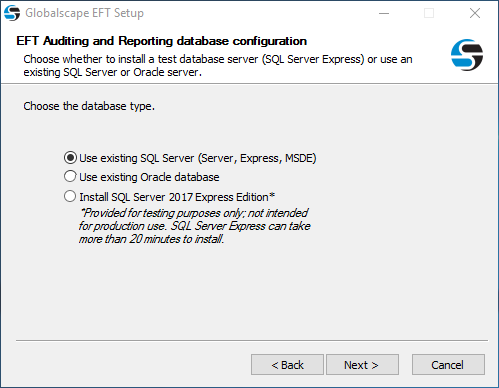
Specify the type of database, SQL Server or Oracle, that EFT is to use. You will need the connection information available to point EFT to the database. If you already have a database to use, then you do not need to install SQL Server Express. (If you are using the "no db" installer, you will not see the "Install SQL Server" option.)
-
Install SQL Server Express
- SQL Server Express is provided for use in a trial. It is not intended for production use. During installation, a default system administrator account (the "sa" account) will be created within SQL Server Express. The password is set to Password1.
- Click OK to continue SQL Server Express installation and follow prompts to complete SQL Server Express installation.
- Once the SQL Server Express installation begins, you can't cancel it. The only way to stop it is to reboot the computer.
-
Use existing SQL Server:
-
Click Use an existing EFT ARM database. The configuration page appears.
-
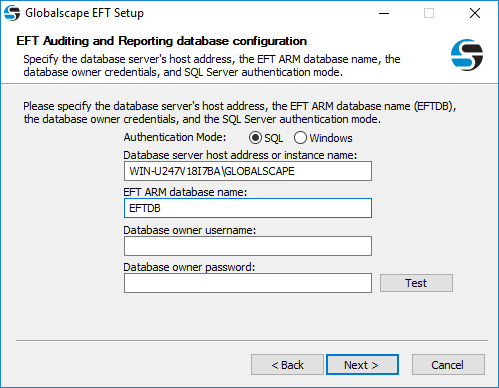
Specify Windows or SQL Authentication. (Windows mode allows you to connect through a Microsoft Windows user account. SQL allows you to connect using either Windows Authentication or SQL Server Authentication.)
-
Specify the host address or instance name.
-
Specify the database server SA or privileged user account name (for example, sa).
-
Specify the database server SA or privileged user account password.
-
(Optional) Click Next or Test to test the connection to the database. If the test fails, click Yes to verify database connection details or No to continue without configuring the database.
-
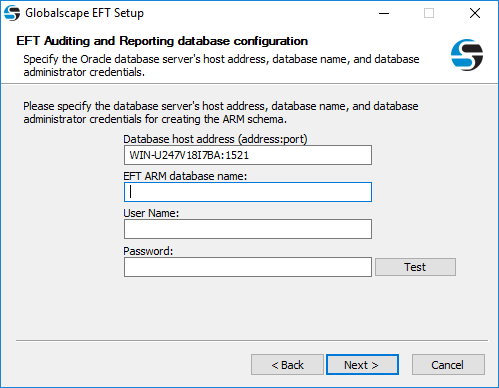
Use existing Oracle database:
- Click Create a new schema. The configuration page appears.
- Specify the database host address and the EFT-specific schema name and database administrator credentials, and then click Test or Next to test the connection to the database. (If you have installed Oracle Database Express Edition (XE) for testing/demo purposes, the instance name is XE and the User Name is SYSTEM.)
- If the test fails, click Back to verify the configuration or click Next and then Next again to open the Oracle Technology Network download page and download "Oracle Data Access Components for Windows" driver, if necessary.
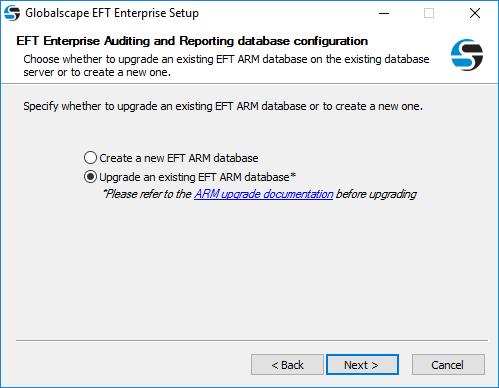
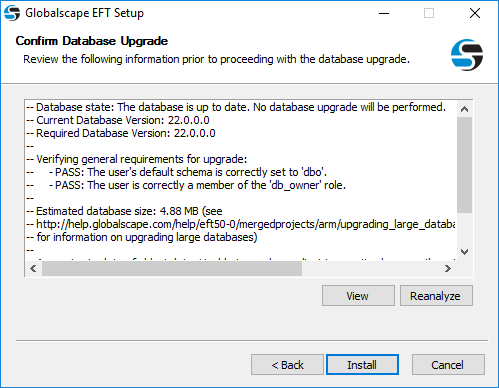
- After the test is successful, click Next. The Confirm Database Upgrade page appears.
-
The database version information is displayed.
-
Click View to open a TXT file of the database upgrade details and save the file for later, if needed.
-
Reanalyze compares the new database information to the old and displays it on the page.
-
Select the I understand... check box to continue, then click Install.
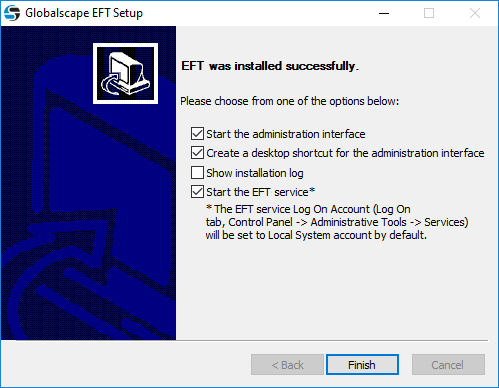
- Click Install. When installation is complete, a Completed page appears.
- Click Next. On the final page, select or clear check box to start the administration interface, create a shortcut to the administration interface on the desktop, show the installation log, and/or start the EFT server service.
-
Click Finish.
When you install EFT, the EFT administrator Interface check box must also be selected. After you have installed EFT and the administration interface on one computer, you can install the administration interface on other computers for remote administration. (To install the administration interface on a remote computer, refer to Installing the administration Interface Remotely.)