Adding a System to Central Configuration Manager
To add a system (which must first be defined in Device Manager (see Adding a Device) to the Central Configuration Manager:
- Click
 Add System from the Central Configuration Manager toolbar ribbon.
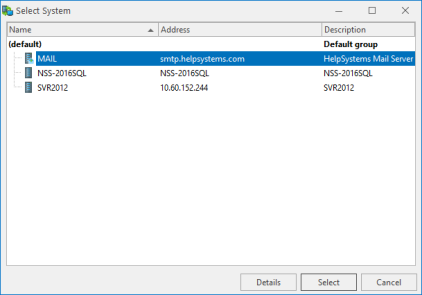
The Select System dialog is displayed.
NOTE: This action can only be undertaken from the top level (default or Device Group name) of the system tree in the Select Systems navigation panel.

- Highlight the required system and click Select. The Add System dialog is displayed.
- Select the system to be added to Central Configuration Manager.
NOTE: The Install Software On System option is activated as a default on all systems except AIX and Linux Devices. This option remotely installs the Server Manager software onto the system being added. See also: Central Configuration Manager Options: Installation Panel
If required, an alternative Enterprise Server and/or CCM Server device can be specified by highlighting the respective device in the Add System dialog and clicking Select. The Select System dialog is re-displayed from where an alternative device can be chosen.
- Click OK to add the system to the Central Configuration Manager and if chosen, install the Server Manager software.
- Click
 Save to save the current settings.
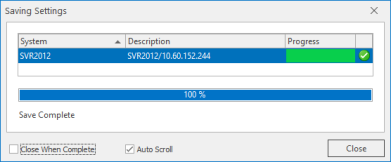
The Saving Settings dialog is displayed.

- If the default setting of Install Software on System has been retained and the system is running Windows, valid log-in details for the system are required. This can either be the current Active User or a Specific User. Select the required option and complete any prompts for additional information as necessary.
NOTE: This feature requires the Windows ADMIN share to be enabled and the selected user must have administrative account authority on the remote system.
- Click OK to remotely install the software onto the system and continue saving settings.
TIP: On the Save Settings dialog, check the Close When Complete option to automatically shut the dialog when Save Settings is completed.