Adding or Editing a Role
To ensure your users only access the areas of HelpSystems One they are authorized to, you can create and assign them to roles.
Follow these steps to create a role:
- In the Navigation Bar, click User Security under settings, then click Roles.
- On the Roles tab, click Add to add a new role or click
 Show Actions next to any existing role and click Edit Role to edit it.
 -
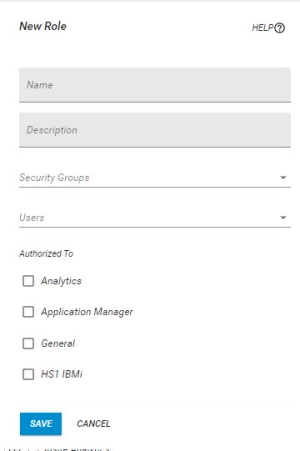
On the New/Edit Role pane, enter a Name for the role you want to create.
-
Enter a Description for the role.
-
Select any security groups you want to add the role to.
If you want to remove security groups from the role, click the x next to the security group.
 NOTE: If you have not created any security groups yet, see Security Groups.
 -
If you want to add users to the role (outside of users who are assigned to any security groups this role is a part of, as they will get this role's permissions automatically), type their username into the field or select them drop the drop-down.
If you want to remove users from the role, click the x next to their username.

-
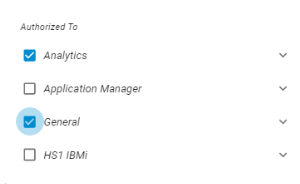
Click the products and areas of HelpSystems One you want to apply to this role.
-
Click Save.
When you are finished, the new role will show up on the Roles page.

