Reports
Robot Network provides many reports that allow you to summarize your network setup and activity history. You can schedule these reports using Robot Schedule if you have it installed on the host or node from which you're creating the report.
Viewing the Reports Page
In the Navigation Pane, clicktap Reports under the Robot Network menu. If the menu is hidden, hover over the Navigation Pane to expand it.
Things to know and do:
-
The total number of saved reports in the list and the server they're on is displayed at the top of the page.
-
ClickTap
 Refresh to refresh the information in the display.
 -
ClickTap the page number and select the page you want to view. Or, clicktap the previous and next arrows.
-
Start typing in the Search field to find a specific report. It will find everything that contains what you're typing. See Sorting and filtering below to learn how to filter your search.
-
"Shared" indicates whether or not others are allowed to see the report. You can change this preference in the report's settings. For instructions, see Adding or Editing Reports.
-
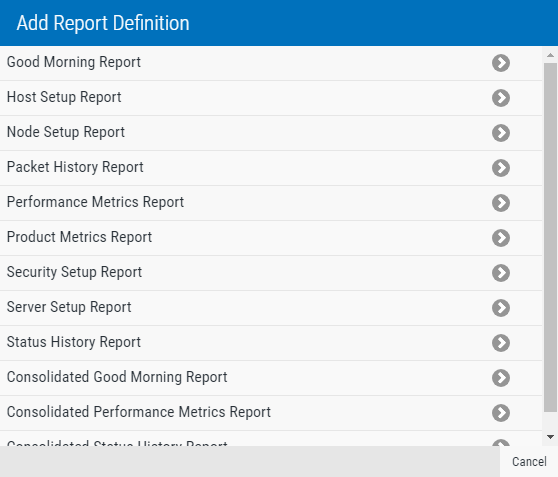
ClickTap Add to set up a new report for printing.

Actions you can take:
ClickTap  Show Actions by any report to display the following actions that you can take:
- Select Preview to build and open a report to preview its progress. The preview will open a new browser tab.
- Select Schedule to open the page where you can schedule the report for printing.
- Select Submit to immediately submit the report for printing.
- Select Edit to open the page where you can edit the report.
Sorting and Filtering the Display
There are settings for the Reports page that allow you to choose how to sort the list, and what types of data will be searched when you do a search.
Follow these steps:
-
ClickTap
 Settings.
-
Select how you want the list sorted (Sort By). ClickTap your selection again to change the sort order to
 ascending or
  descending.
 -
Select one or more options under Search By to narrow the list of items displayed.
-
ClickTap
 Settings. to close the settings.