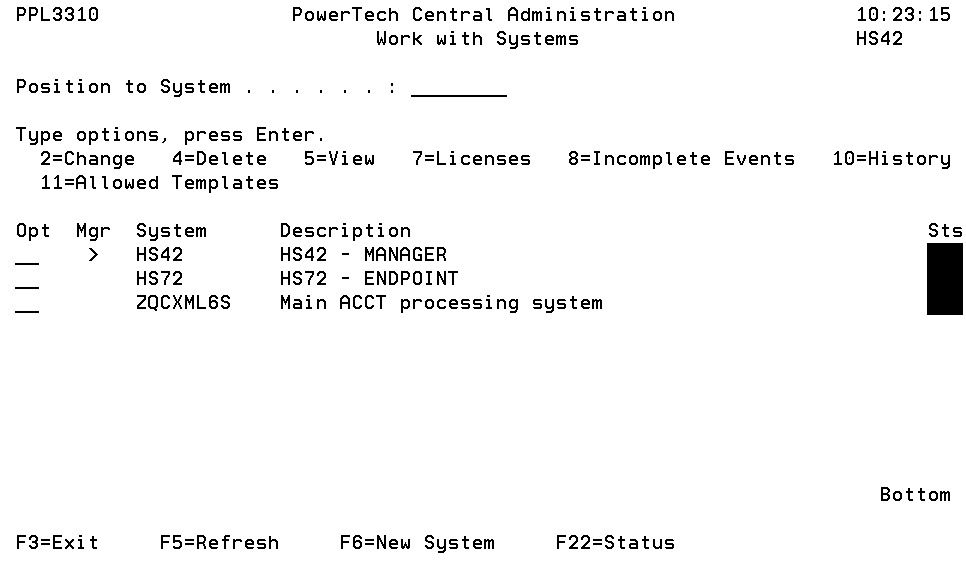
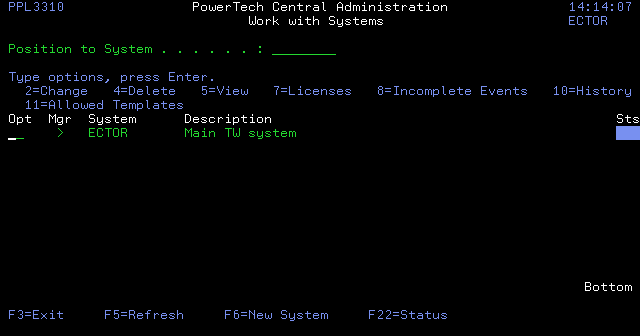
Work with Systems panel
The Work with Systems panel allows you to create, modify, delete and perform other operations upon Systems.
A System represents an installation of an operating system on a piece of hardware.
Creating a new system causes the Management System to attempt to include that system into the network as an endpoint. This process is called "inclusion" and may take a few minutes to complete. During this time, the two systems may connect and disconnect several times. The new endpoint system is ready for use only when the Phase column on the Work with Systems panel contains no value.
In order for the new system to be contacted, you must specify the same Address and Port on both the Management System and the candidate endpoint, and the monitor jobs must be running on both systems.
During inclusion, the list of user profiles from the candidate endpoint will be transferred to the Management System along with the Product Security setup. After that is successful, Product Security data from the Management System is transferred to the candidate endpoint. Very shortly after this succeeds, the candidate endpoint will be "finalized" and made available for general use.
After the connectivity part of the inclusion process succeeds, each software module will transfer its centrally-managed data to the Management System using the Bulk Entity Upload facility. These transfers are not considered part of the inclusion process, but you should be aware that certain module-specific centrally-managed data may not be available for some time after the inclusion process officially completes. Examples of module-specific data that are transferred post-inclusion include Exit Point Manager Captured Transactions, User Rules, Location Rules and other rules and settings as determined by Exit Point Manager.
How to Get There
From the Network Configuration Menu, choose option 1, Work with Systems.
Options
2=Change: Displays the Change System panel, which allows you to change system attributes. The panel also lists information about the system, such as serial number, model number, and whether the system is the Central Administration manager system.
4=Delete: Removes the System from the network. All data related to the System will be removed from the Management System.
5=View: Allows viewing the attributes of the system.
7=Licenses: Presents a list of all Powertech Central Administration modules installed on the System and allows license keys to be viewed or changed.
9=Entity Activity: Presents a list of Alerts, History and Event data concerning the selected System.
11=Allowed Templates: Presents a list of Templates that the System has permission to use.
To define a system to Central Administration, press F6.
Field Descriptions
The list will be positioned such that names beginning with the characters you type here will be listed first.
Mgr
Indicates that a System is the Management System with a greater-than (>) symbol.
System
System is a name you assign to a System.
Description
Description is a short description of the System.
Phase
Indicates, for new Systems only, the current phase of the inclusion process. If the value is blank, the system has completed inclusion and is available for normal use. A non-blank value indicates that the system is (or was) being included into the network and is still in process of initial connection or has failed during that process.
Sts
Shows the communication status for the system.
Blue
The communication status is unavailable. This is common when you are viewing the status for the local system as there is no communication status for the local system.
Green
The system is connected.
Yellow
The system is in the process of ending communications.
Red
The system is not communicating currently.
Command Keys
F3=Exit:Exit the program.
F5=Refresh:Refreshes the panel with the most current data.
F6=New System: Creates a new system.
F22=Status: Displays the Operational Resources popup window containing the status of several operation aspects of Powertech products.