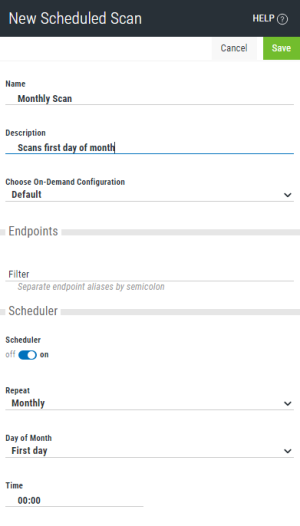
New/Edit Scheduled Scan pane
This topic describes the options on the New/Edit Scheduled Scan pane. For information on how to schedule scans, see Scheduling Updates and Scans.
How to get there
In the Powertech Antivirus Navigation Pane, choose Scheduled Scans. On the Scheduled Scans page, choose Add to define a new Scheduled Scan. Or, click within an existing scan's row to open the Edit Scheduled Scan pane, where you can modify an existing Scheduled Scan.
What it does
These settings allow you to create a new Scheduled Scan, or modify an existing one.
Options
Save • Cancel
Click Save to save the Scheduled Scan. Click Cancel to dismiss the pane without making changes.
Name • Description
A name and description for the Scheduled Scan you are defining.
Choose On-Demand Configuration
The On-Demand Configuration you would like to use for the Scheduled Scan. More details about the available Configurations can be found on the Configurations page.
Endpoints
The endpoint aliases to scan, separated by semicolons.
Scheduler; Off • On
Toggle to Off to disable the Scheduled Scan. Toggle to On to display scheduling options.
Repeat • Day of Month • Time
Use these options to specify the frequency of the Scheduled Scan, by month, daily, or day of week. If monthly, you can specify a day of the month. In the Time fields, specify the hour and minute the scan should run on the days specified.
