
Create AWS Account Reports screen
Use this screen to create an AWS Account report.
How to get there
Choose AWS Accounts > Create Reports.
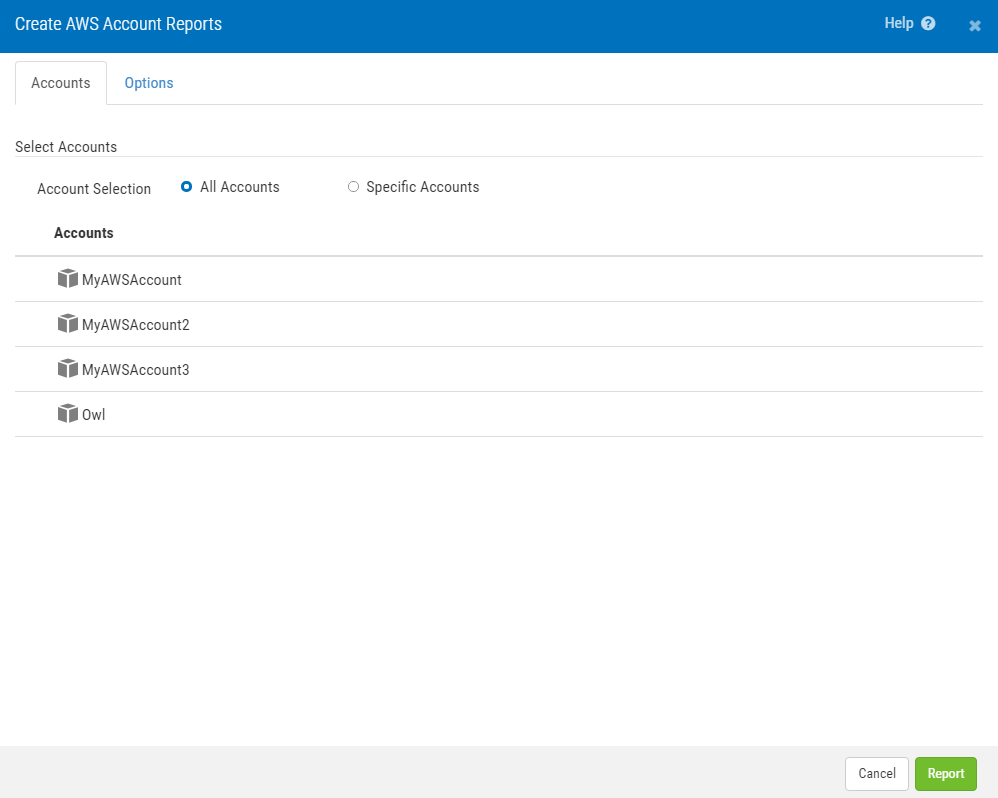
Accounts tab
Select Accounts
Account Selection; All Accounts • Specific Accounts
Choose All Accounts to indicate the report should include data from all AWS accounts. Choose Specific Accounts to display a check box next to each account, which allows you to specify the accounts that should be included in the report.
Accounts
This is the list of AWS accounts configured in Security Auditor. See Manage AWS Cloud Service Reports screen.
Options tab
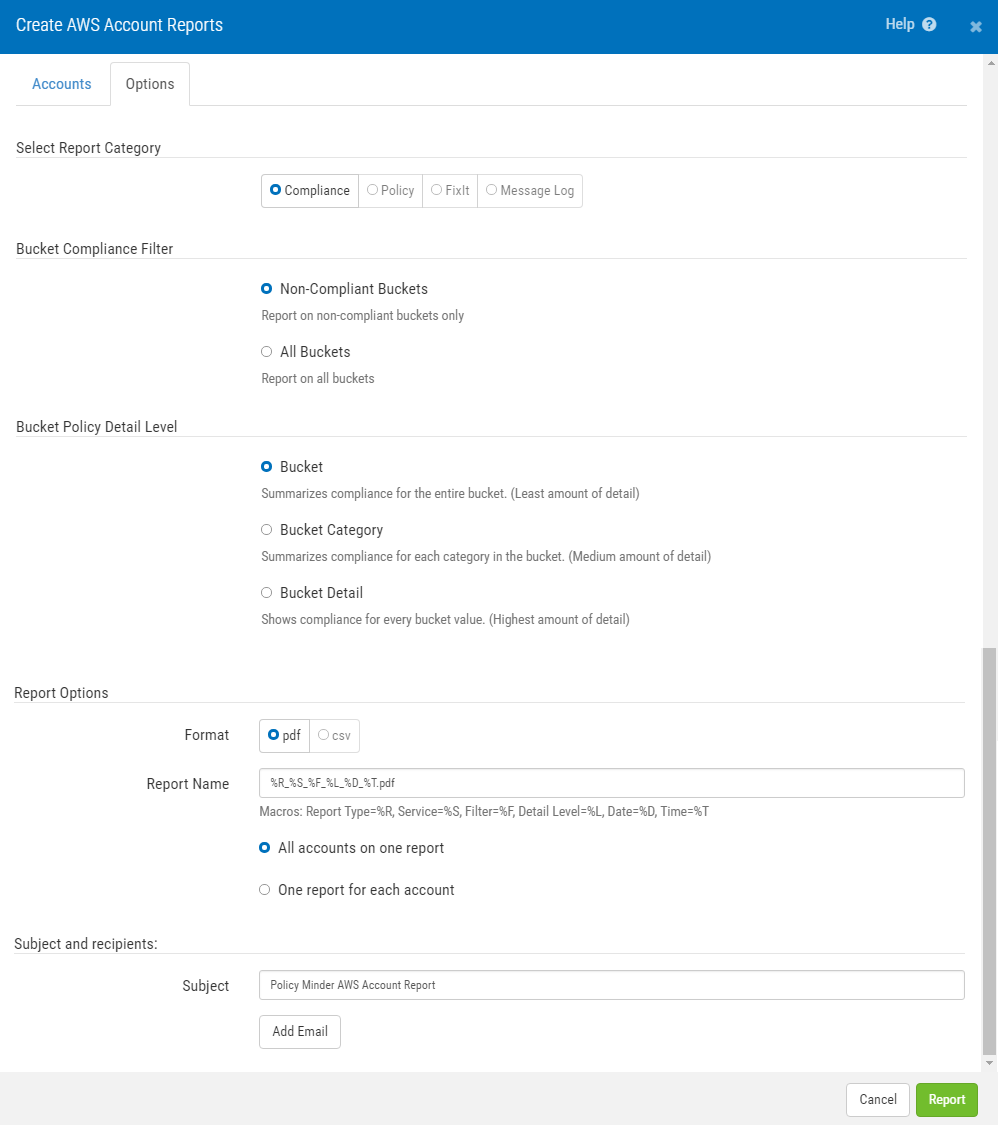
Select Report Category
Compliance
This option gives a report on compliance.
Policy
This option gives a report on policy details.
FixIt
This option gives a report on FixIt activity.
Message Log
This report gives a report on the Security Auditor message log.
Bucket Compliance Filter
Non-Compliant Buckets
Choose this option to report only on Buckets that include at least one non-compliant value.
All Buckets
Choose this option to report on both compliant and non-compliant Buckets.
Bucket Policy Detail Level
Bucket
Summarizes compliance for the entire Bucket. This option includes the least amount of detail.
Bucket Category
Summarizes compliance for each category in the Bucket. This option includes a medium amount of detail.
Bucket Detail
Shows compliance for every bucket value. This option includes the highest amount of detail.
Report Options
Format; pdf • csv
This gives the option of receiving the report in pdf or csv format.
Report Name; All accounts on one report • One account for each server
This is where the report is named. The Report name macros are:
- Report Type=%R
- Service=%S
- Filter=%F
- Detail Level=%L
- Date=%D
- Time=%T
All accounts can be on one report, or one account can be made for each server.
Subject and Recipients
Use these options to specify details about the emailed report.
Subject
Enter the subject of the email to be sent.
Add Email
Click this button and enter the email address the report should be sent to. Repeat for additional email addresses.
Cancel • Report
Click Cancel to dismiss this screen without creating a report. Click Report to generate the report based on your settings. You arrive at the View Reports screen where your new report is available for viewing. Reports are emailed as PDF attachments to the email addresses specified.