One-Step WebApps RPT
The WebApps RPT includes the following One-Step tests that can be run in a single step, providing detailed reports of the test's findings.
- One-Step WebApps Remediation Validator
- One-Step WebApps Vulnerability Scanner Validator
- One-Step WebApps Risk Assessment
One-Step WebApps Remediation Validator
Oftentimes, the team who tests for vulnerabilities is different than the team who fixes them. Core Impact's One-Step WebApps Remediation Validator allows testers to easily re-test systems that have already been identified as vulnerable.
To run a One-Step WebApps Remediation Validator test:
- Make sure the One-Step RPT is active. The available one-step tests will appear.
- Click WebApps Remediation Validator.
- The Remediation Validator Wizard will appear. Click the Next button to proceed with the Wizard.
-
Select the Target WebApps (or Scenario) that you want to test.
WebApps Remediation Validator: Target Selection
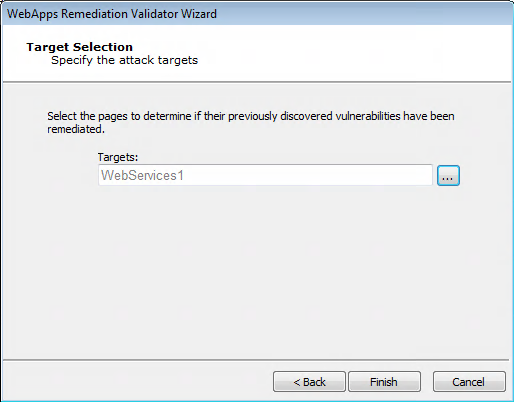
Click the Finish button. Core Impact will re-test the vulnerable targets and verify whether the vulnerabilities still exist.
To check on the status of your test, click the Module Output tab.
One-Step WebApps Vulnerability Scanner Validator
If you use a third-party tool to run vulnerability scans against your existing web applications, you can feed the output from that tool into Core Impact's Vulnerability Scanner Validator. Core Impact will evaluate the scan's output and provide you with a prioritized validation of your system's weaknesses.
Before running a Vulnerability Scanner Validator, you will need to have the output file from a supported third-party vulnerability scanner. A list of supported scanners is shown as you begin the test.
The below steps illustrate how to run a One-Step WebApps Vulnerability Scanner Validator test manually. You can also execute this test using the Scheduler - see Using the Scheduler for more details.
To manually run a One-Step WebApps Vulnerability Scanner Validator test:
- Make sure the One-Step RPT is active. The available one-step tests will appear.
- Click WebApps Vulnerability Scanner Validator.
- The Vulnerability Scanner Validator Wizard will appear. Click the Next button to proceed with the Wizard.
-
Select the third-party scanner from which you got your results.
Source Application
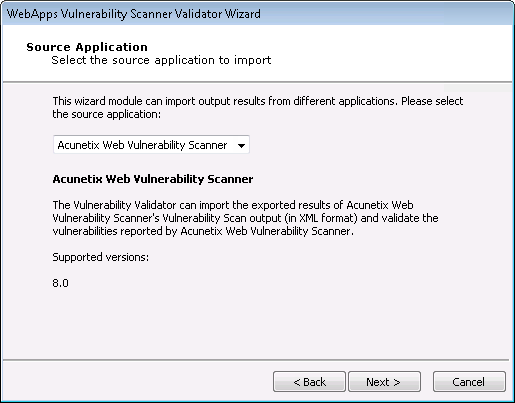
Click the Next button.
-
Enter the details of the scanner's output. The output format you are importing is dependent on the Vulnerability Scanner you selected in the previous step. Some scanners export their results to a file while others require you to access their data directly from the scanner's database.
Input File
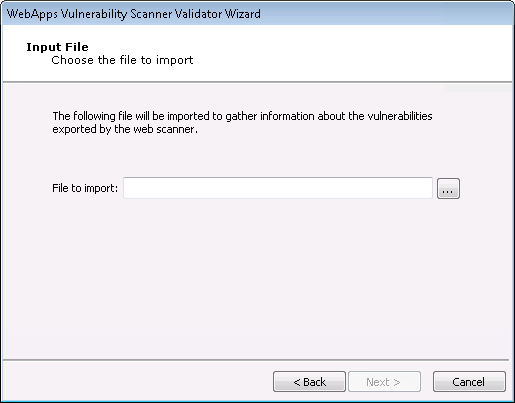
Click the Next button.
-
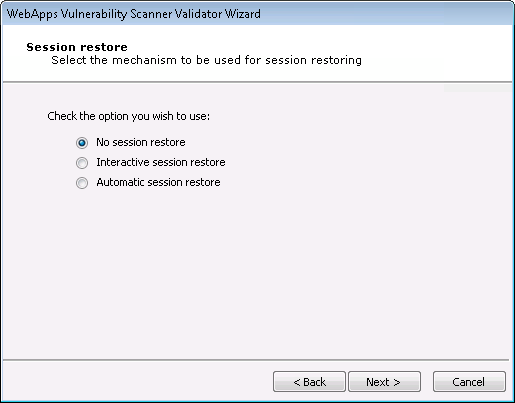
Select the method that the test should use to reestablish a connection to the target web application.
-
No session restore: With this option, Core Impact will not attempt to log into the target web application.
-
Interactive session restore: With this option, you set your web browser to use Core Impact as a proxy and then authenticate in your web application. Core Impact will then use the resulting session to validate the vulnerability scanner information. This method is similar to Interactive Web Crawling and presents similar options after this step in the wizard. For details on these options, see the section on Interactive Web Crawling.
-
Automatic session restore: With this option, you define the credentials Core Impact should use in authenticating in your web application. This method is similar to Automatic Web Crawling and presents similar options after this step in the wizard. For details on these options see the section on Automatic Web Crawling.
Session Restore
-
-
Select the method that the test should use to connect to the target web application.
Proxy Settings

- After you have further configured the one-step test according to your preferences, click the Finish button.
To check on the status of your test, click the Module Output tab.
One-Step WebApps Risk Assessment
Core Impact's One-Step WebApps Risk Assessment allows you to target a web applications in order to evaluate its vulnerability to known exploits as well as the OWASP Top 10 security risks. When the test runs, Core Impact will access the web application and attempt to locate pages that contain vulnerabilities to any of the risks you select. This One-step test conveniently combines the WebApps Information Gathering (Automatic Web Crawling only) and WebApps Attack and Penetration RPT steps into a single test that you can easily schedule or execute in a single test step.
The One-Step WebApps Risk Assessment does not require you to create a Scenario before initiating the test as is the case with the WebApps RPT. When you run the One-step WebApps Risk Assessment, Core Impact will automatically create a new Scenario in which you can view and manage the test results.
The following section describes how to run a One-Step WebApps Risk Assessment manually. You can also execute this test using the Scheduler - see Using the Scheduler for more details.
To manually run a One-Step WebApps Risk Assessment:
- Make sure the One-Step RPT is active.
- Click WebApps Risk Assessment under the One-Step heading.
- The WebApps Risk Assessment Wizard will appear. Click the Next button to proceed with the Wizard.
- The One-step test uses wizard steps from the WebApps Information Gathering wizard and the WebApps Attack and Penetration wizard. Please view those sections for details on the screens that follow.
- Click the Finish button to begin the test.
To check on the status of your test, click the Module Output tab.