Creating a Group
A group is a collection of users that is used to manage security. You assign permissions for a group, and all the users within that group will have the group's permissions.
By using groups, you can:
- Easily assign permissions for multiple users.
- Be sure that user permissions are consistent; everyone in a group starts with the same permissions.
-
Update permissions for all users in a group with a single change to the group.
For example: Acme Co. has an accounting department of three people. Those three people have user accounts in Webdocs. The Webdocs administrator at Acme Co. creates a group called Accounting and adds the user accounts of the accounting employees to that group.
The Webdocs administrator at Acme Co. then assigns permissions to the Accounting group, and those permissions apply to all accounting employees. By assigning permissions to one group and not having to assign the same permissions three different times, the administrator saves time and is confident that all the users in the accounting department have the same permissions.
For more advanced ways to manage groups, see Managing Groups.
To create a group:
-
On the side menu of the Settings tab, click Create New Group
 .
.The New Group page displays.
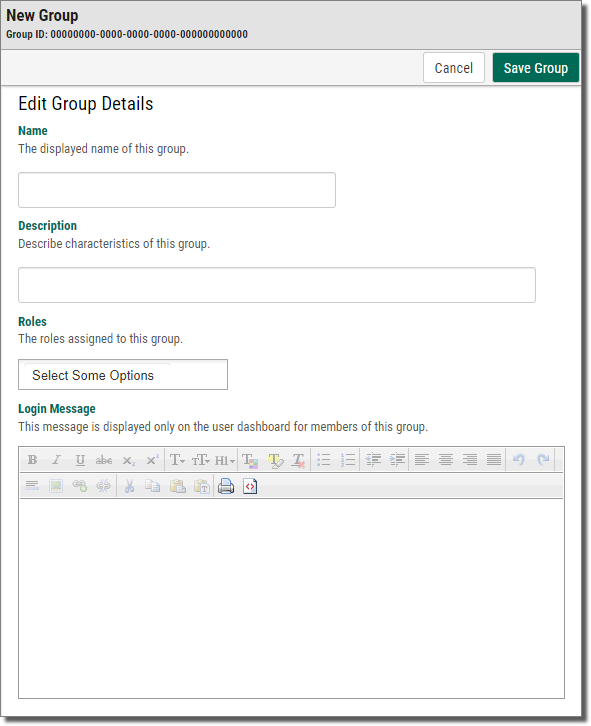
-
In Roles, assign permissions to the group for different functions in Webdocs. The currently available roles are:
iForms Admin - If you are also using the iForms product integration, this allows users in this group to administer iForms
Report Viewer - This allows users to see the available Webdocs usage reports on their home screen.
Route Design Administrator - This role is not used yet
-
(Optional) In Login Message, type a message for users in this group to see on the home page after logging in.
- To format the log-in message, use the formatting buttons.
- To set a log-in message for all users, see Customizing How Webdocs Displays.
-
Click Save Group
 .
.A message displays, telling you that the group is created.