Routing Documents
Webdocs uses routing to automate the manual process of moving a document from person to person for approval. Your Webdocs administrator may have set up routes for your organization or department.
Adding a Document to a Route
To add a document to a route so that other users can approve it:
Before you begin, make sure your administrator has told you which routes to use.
-
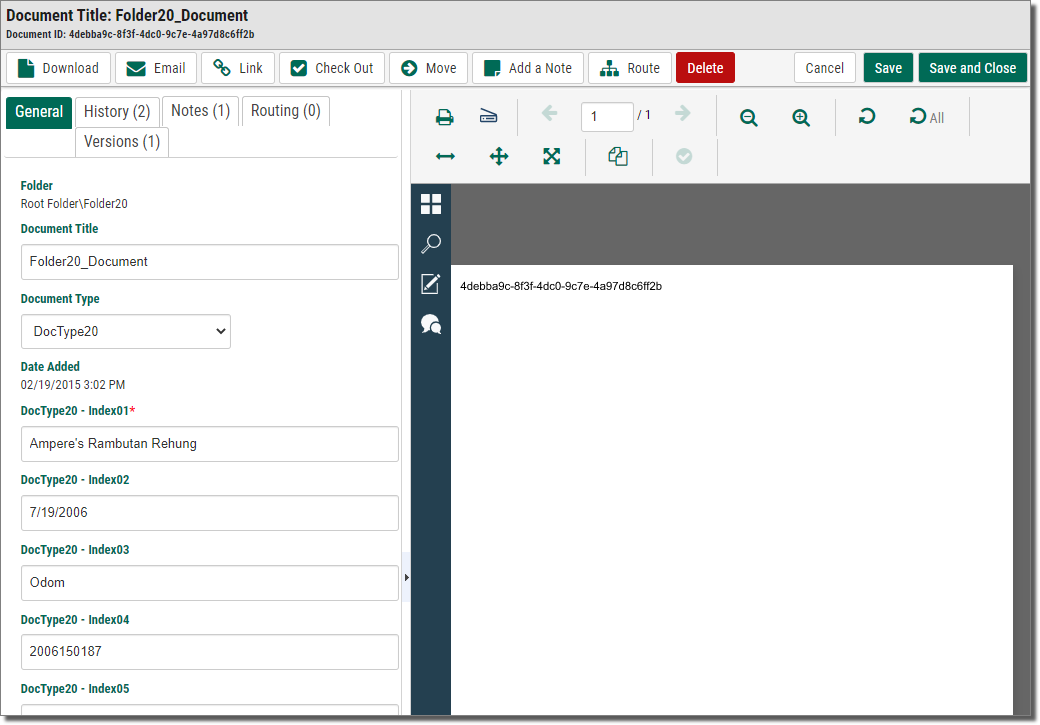
On the side menu of the Documents tab, click the folder of the document to add to a route j(you can also access a list of documents with either a folder list or a search list), and click View document details
 next to the row of the document to add to a route.
The document's information displays.
-
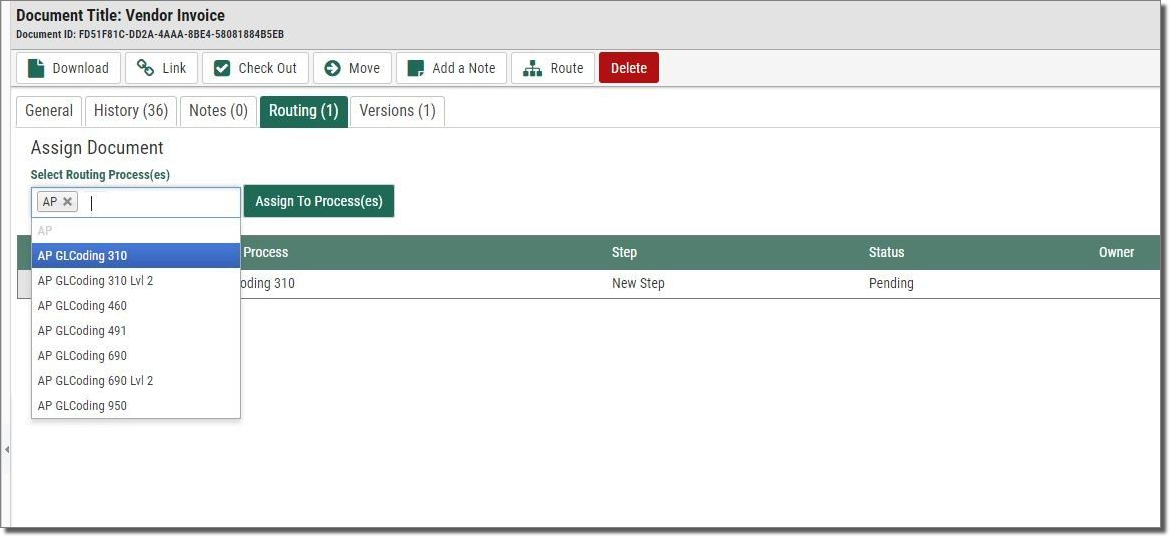
Click the Route tab
 .
. The route tab shows users all the route history for a document, including active routes.
-
In Select Routing Process(es), choose the route to add this document to. If more than one route is available, you can choose more than one route. You may not add a document to a route a second time unless that previous route is completed.
-
Click Assign to Process(es)
 .
.A confirmation message displays, and the new route is displayed in the route history list.

