![]()
The applet, if enabled, allows unlimited file size, depending on the limit the administrator has set for the portal.
The Mail Express Drop-Off Portal is provided for external, non-Outlook users to send files using Mail Express. From this web page, any individual who knows the URL of the page can attach files to an email to send to one or more recipients. You can also log in to the Drop-Off portal using your Internal user credentials. If the administrator has configured the Drop-Off page to allow only "verified" users, you have to log in (no anonymous access is allowed). Internal users require the Drop-Off access enabled permission to access to the Drop-Off page.
|
|
The applet, if enabled, allows unlimited file size, depending on the limit the administrator has set for the portal. |
To send file using the Drop-Off portal
If you do not have access to the Drop-Off Portal, refer to Requesting Access to the Drop-Off Portal for instructions.
Do one of the following:
Open a web browser and navigate to the web address of the drop-off page (e.g., https://mymailexpress.org/dropoff).
Open a web browser and navigate to the web address of the default landing page (e.g., https://mymailexpress.org). If a welcome page appears and displays icons with which to connect to the Drop-Off portal or Internal Portal, click Drop-Off Portal.
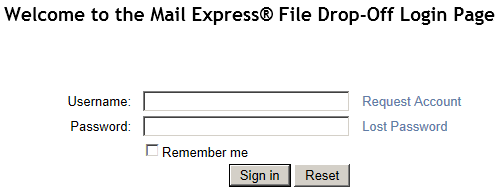
Provide your Username and Password, then click Sign in. The Welcome page and email form appear. The options that appear depend on the administrator's configuration of the Drop-Off Portal and the type of account.
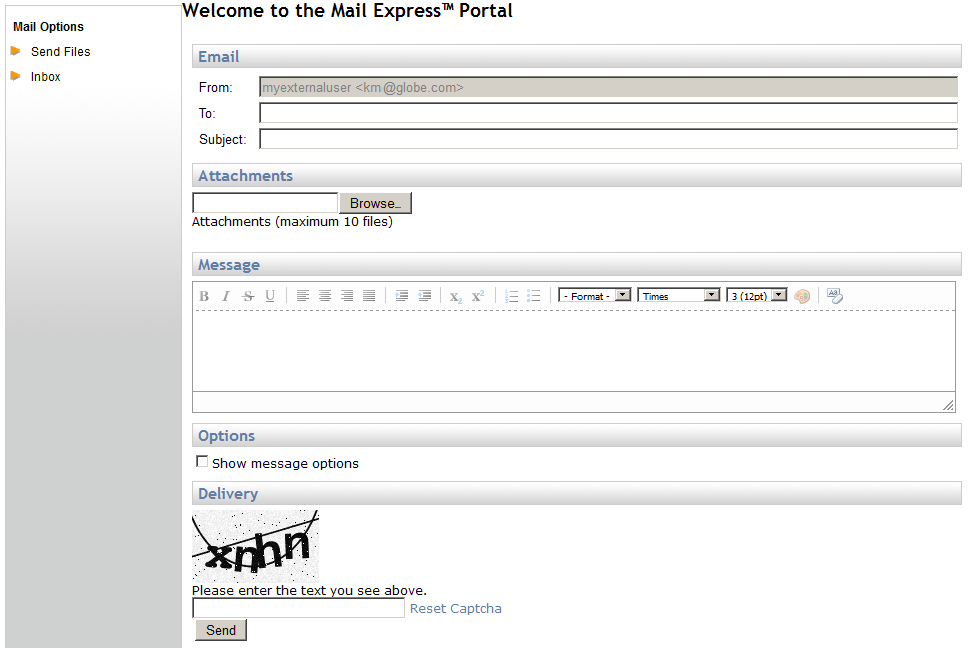
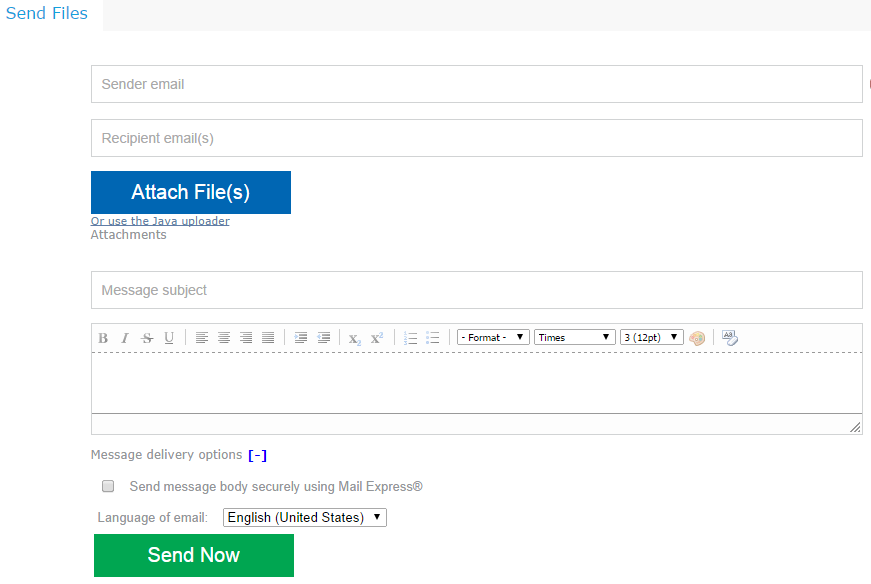
Provide the sender's email address. If the administrator requires all senders to be verified users, the From box is completed for you and is not editable.
Provide the recipient's email address. Multiple email addresses can be separated by commas or semicolons. The email addresses and number of recipients are validated against administrator-defined values.
Provide a descriptive "title" for your email. "Here are the files" is too generic and could get lost in multiple e-mails. "Attached are the documents for Friday's Widget discussion" is more descriptive and easier to identify in a search. You are allowed up to 256 characters.
In the Attachments area, click BrowseAttach File(s) to select a file to attach. You can only select one file at a time and cannot select entire directories. You are limited to 10 attachments per send. After 10 attachments have been added, the button is unavailable. If you are using the Java Upload Manager, you can select multiple files at one time. Specify one or more files to attach to the email (up to 100 attachments per email) or drag files into the Java applet box.
Describe the purpose of the email. The message box allows up to 10,240 total characters. You cannot use HTML tags to format the message. However, you can format text using the formatting toolbar. Select the text to which you want to apply formatting, then click a button on the toolbar to apply the formatting. The formatting toolbar provides the same options as standard word processing applications: bold, italics, strike through, underline, paragraph alignment, indent, subscript, superscript, numbering, bullets, paragraph styles (such as Paragraph and headings 1-6), font face (such as Arial; Times New Roman is the default), font size, and text color. Use the Clear Formatting button to remove formatting from selected text. You can expand the size of the message box by clicking and dragging the bottom right corner of the box. (Note: The number of visible characters allowed is reduced when you apply formatting.)
More options may be available depending on the administrator's settings. Click the plus sign next to Message delivery options if you want to specify additional message options specific to this email.
If CAPTCHA is displayed, in the text box, type the text in the CAPTCHA. (If CAPTCHA is not displayed, the administrator did not select the check box in the Drop-Off Settings.)
If you want to encrypt the email, select the Send message body securely using Mail Express check box.
Select the drop-down list next to Language of email to specify the language of your recipient, if different.
Click Send.
If the To, Subject, or Message boxes are empty, or if the CAPTCHA fails, the send will fail and the CAPTCHA will reset.
A message similar to the following appears if the send was successful:
To send another package, click Send.
To receive a copy of the receipt in email, click email. The email is sent to the address specified in the From box of the email.
Using the Account Activation Portal