Working with Alerts
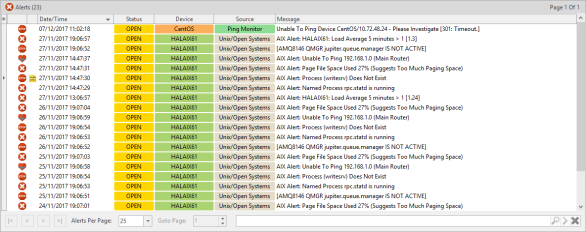
Alerts are generated as a result of rules that have been set up to monitor your network for any issues or problems. When alerts (that have an action of Send Console Action) are received they are displayed in the Alerts panel (by default) on the Enterprise Console.
Icons used when working with alerts are displayed from the Home option on the Enterprise Console tool bar.

Displaying Alerts
In its ![]() Open default view, the Alerts panel of Enterprise Console shows Open, Error, Console and Acknowledged alerts. Closed alerts can be viewed by selecting
Open default view, the Alerts panel of Enterprise Console shows Open, Error, Console and Acknowledged alerts. Closed alerts can be viewed by selecting ![]() Closed from the Home menu ribbon.
Closed from the Home menu ribbon.

Alert Status
In the Open view, alerts may have one of the following statuses:
- Open: The alert is open and has one or more actions against it.
- Acknowledged: The alert has been acknowledged and for IBM i alerts only, all outstanding actions against the alert have been canceled.
- Console: Indicates that an alert has been closed/replied to from the Enterprise Console. The alert remains visible until the console action has completed. Any pending actions are canceled when a user closes or replies to an alert.
- Error: The alert is open but one or more actions have failed.
Specifying the number of alerts displayed per page
Alerts are displayed in sequential pages within the Alerts panel. The default setting is to display 25 alerts per page.
To change the number of alerts displayed per page:
- Locate the Alerts Per Page option in the footer of the Alerts panel.
- Use the drop-down menu to select the new Alerts Per Page value. The possible values are 25, 50, 100, 200 and 500. It is not possible to enter a user-defined figure in this field.
The display changes to reflect the change. Depending on the change in value, other options in the Alerts panel become available or are made unavailable.
Goto page
If the number of alerts displayed per page exceeds the capacity of a single page in this panel, then additional pages become available. For example, if the Alerts Per Page setting is 100, and there are currently 346 alerts of a qualifying status in the system, then 4 pages will be available for selection.
To go to a different page of alerts:
To display a different page of alerts, use one of the following methods. Either:
- Over type the existing Goto Page value with a new page value. If the available page value is exceeded, the last page of alerts is returned. For example, If there are only 4 pages of alerts and 8 is entered in this field, the last available page of alerts is displayed.
- Use the Goto Page drop-down menu to select a new page value.
- Use the Page Arrows in the Alert Page footer to move between pages as follows:
 Go to the next page of alerts
 Go to the previous page of alerts
 Go to the first page of alerts
 Go to the last page of alerts
Searching for alerts
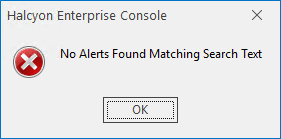
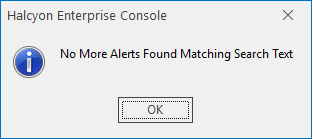
It is possible to search for a specific alert message text by entering text in the Search field in the Alerts panel footer.

To search for specific alert text:
- Type the text (either partial or full) of the alert message to be found on the current page and click
 Search.


- Use
 Delete to remove the message text search criteria from the Search bar.