Starting Your Map
When you launch Intermapper, a Map List window is displayed. It contains several demo maps, which show examples of network maps and contains brief descriptions of the elements appearing on the maps. Double-click a map to open it.
After you explore the demo maps, you can use the Auto-discover function to create your first map.
Creating a New Map
To create a new map:
To create a new map, choose New Map from the File Menu. The New Map Constructor window is displayed.
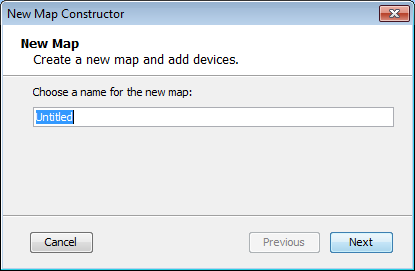
Type a map name and click Next.The second page of the New Map Constructor is displayed.
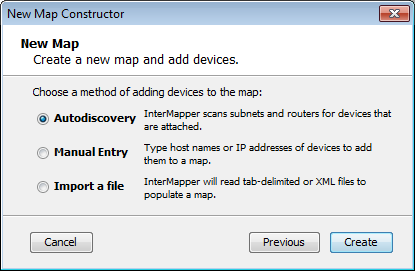
- Autodiscovery - Intermapper's Auto-discover function automatically scans your network, looking for network devices to add to your map. It uses several heuristic techniques (including SNMP probes, ICMP echo packets, and DNS and NBP queries) to discover all devices that are present. It then places those devices on a map.
- Manual Entry - Type or paste a list of host names or IP addresses for the devices you want to add to the map.
- Import a file - Specify a tab-delimited, CSV, or XML import file. For more information, see Importing Data Into Maps.
For information on using the Auto-discover function, see Using Auto-discover.
Importing Data into a Map
You can also create a map by importing data from a text file. For more information, see Importing Data Into Maps.
Intermapper Labels
Intermapper adds a label to each discovered device. By default, it uses the device full DNS name. Networks are labeled with both an IP addresses and the number of bits in the subnet mask (indicating the network range). For example, the network labeled 192.168.1.0/24 indicates that the IP devices are in subnet 192.168.1.0, with a subnet mask of 24 bits (255.255.255.0).