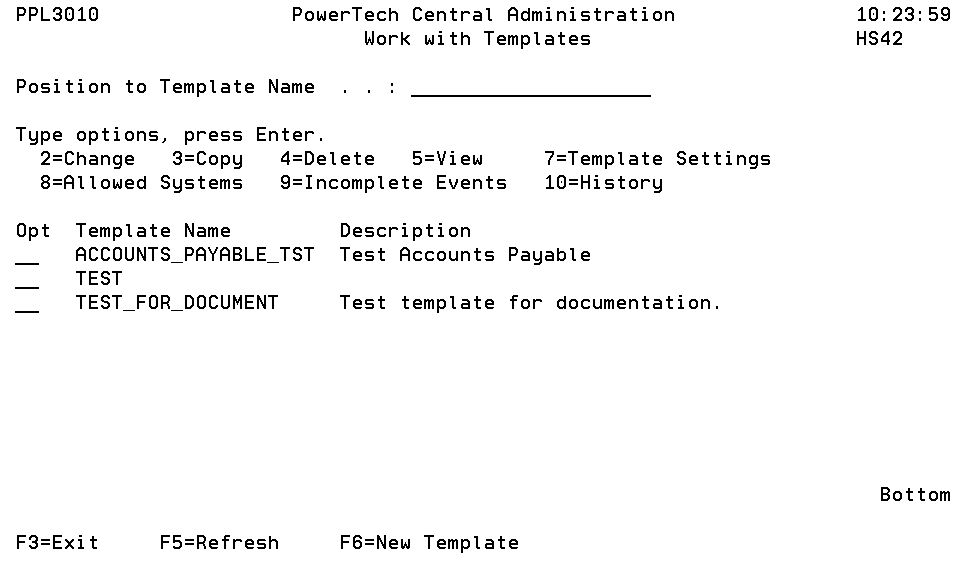
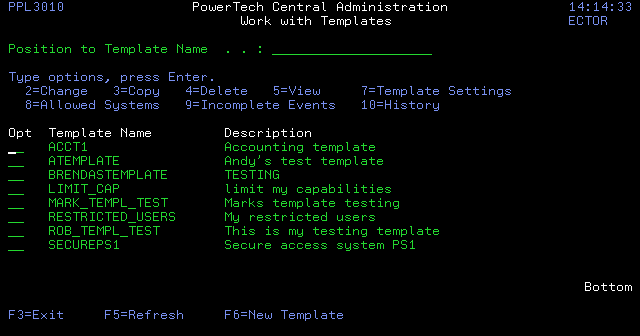
Work with Templates panel
The Work with Template screen lets you modify or delete existing Templates.

How to Get There
From the Template Menu, choose Work with Templates.
Options
2=Change: Displays the Change Template panel, which allows you to change the name and description of the selected Template.
3=Copy: Displays the Copy Template panel, which allows you to copy the selected Template. Enter a description and name for the new Template. The Template settings from the original Template are copied to the new Template, which you then can modify as needed.
4=Delete: Allows you to delete the selected Template. A confirmation panel displays so you can confirm the deletion.
5=View: Displays the name and description of the selected Template. You cannot make any changes on this panel.
7=Template Settings: Displays the Template Settings panel, which lists the types of settings that are available. Enter a 2 in the Opt column to change settings in the Templates you have defined.
8=Allowed Systems: Displays the Template Allowed Systems panel, which lets you specify the systems in your network to which the Template applies. When you create a Template, it is valid for any system defined to Central Administration as a managed system. However, you can limit a Template to a specific system. On the Template Allowed Systems panel, enter a 1 (Allow) next to a system name to allow the Template to be used on that system; enter a 4 (Disallow) to remove a system from the list of allowed systems.
You can customize the Template settings for a specific system. Enter a 7 next to the system name on the Template Allowed Systems panel. Select your desired Setting Provider with a 2 (Change) and enter your changes on the Change Profile Auditing Settings panel.
9=Incomplete Events: Displays the Work with Incomplete Events panel, which lists events that have failed or not completed yet.
To define a new Template, press F6.
F3=Exit:Exit the program.
F5=Refresh:Refreshes the panel with the most current data.
F6=New Template: Creates a new template.
