
Add/Modify Scheduled Job
Use the Add Scheduled Job screen to create a new Scheduled Job. Use the Modify Scheduled Job screen to change an existing Scheduled Job.
How to Get There
To add a new Scheduled Job, choose Admin Tasks > Manage Scheduled Jobs and click New.
To change an existing scheduled job, click the Scheduled Job name.
Options
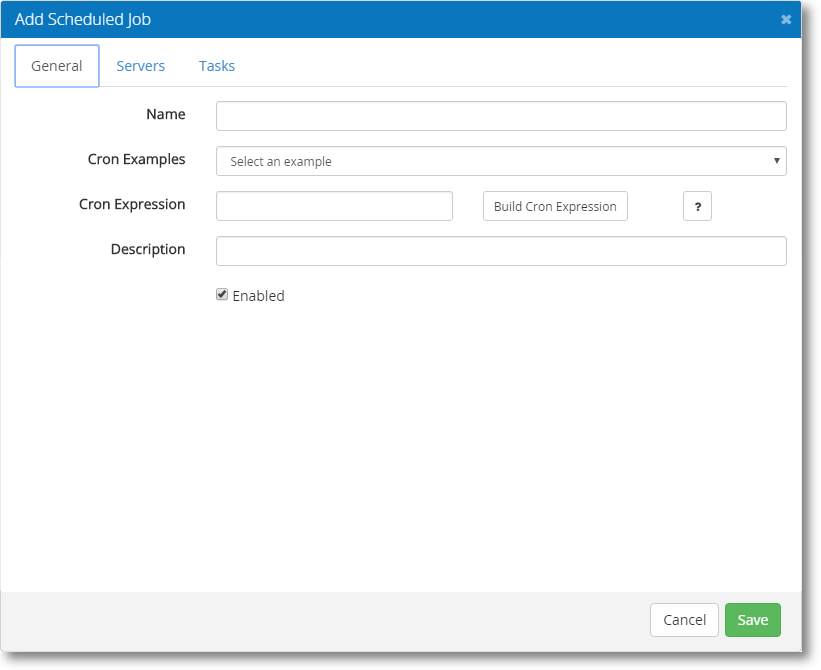
General tab
Name
Enter a name for the Scheduled Job.
Cron Examples
This drop-down list includes several cron expressions. Select one to add the code to the Cron Expression field below.
Cron Expression • Build Cron Expression
This is the cron expression code. Click Build Cron Expression to open http://www.cronmaker.com which includes a utility to help you build cron expressions.
Description
This is the description of the cron expression.
Enabled
Check this box to enable the Scheduled Job.
Servers tab
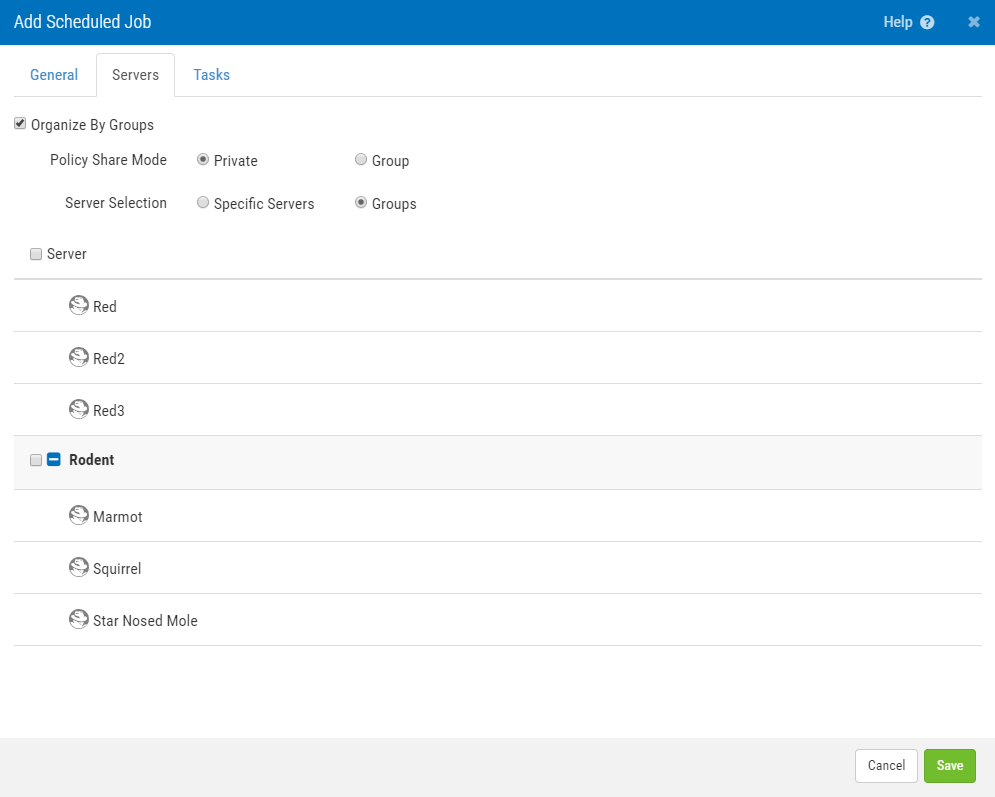
Organize by groups
Enables the Server Selection option.
Policy Share Mode; Private • Group
Choose Private to use the Private Policy assigned to the server. Choose Group to use the Group Policy assigned to the server. See Manage Servers screen for details.
Server Selection; Specific Servers • Groups
Choose Specific Servers to choose any combination of servers, regardless of the Groups they are assigned to. Choose Groups to limit your selection to all the Servers contained within the selected Server Groups. If Group is selected, all servers in the Group when the job runs will be included, including any servers added to the group after the Scheduled Job was defined.
Tasks tab
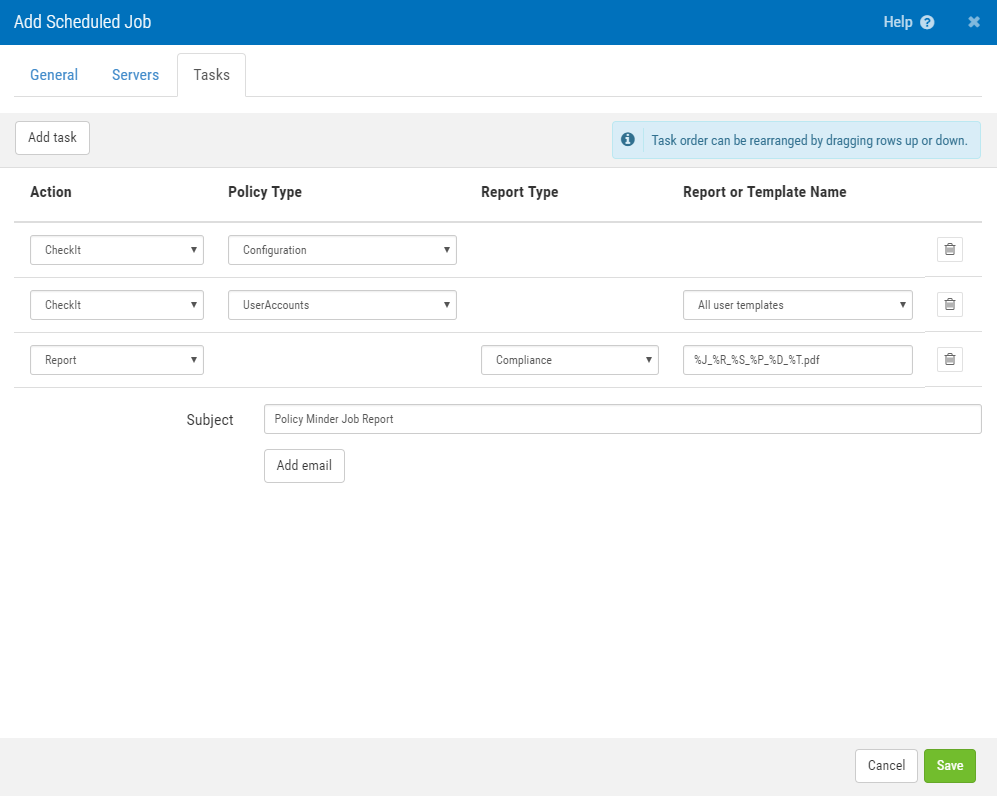
Add Task
Click Add Task to create a new task. A new row is added to task list below.
Task List Field Descriptions
Action
Choose the type of action you would like the Scheduled Job to perform. Options pertaining to the Action you choose appear on the screen. See CheckIt, FixIt, and Reports for more details. Use DeleteData to delete old report data based on the Server and General settings specified.
Policy Type
For CheckIt and FixIt Actions, choose the Policy Type you would like to check or fix. See the topics under Using Security Auditor for a description of the Categories.
Report Type
This drop-down menu is available if Report is selected for the Action, and includes Security Auditor's available report types (see Create Reports screen) as well as the option to create a consolidated report with all types.
Enter and email subject in the Subject field and click Add Email to specify an email recipient for the report. You can click Add Email again to enter multiple email addresses.
Report or Template Name
Indicate the report name. You can use the following macros: Report Type=%R, Server=%S, User=%U, Policies=%P, Date=%D, Time=%T
Cancel • Save
Click Cancel to dismiss the screen without making changes. Click Save to save changes.