Please read the following information before upgrading. Several of the caveats below could adversely affect the success of your upgrade if not heeded.
-
It is very important that the Secure Ad Hoc Transfer (SAT) module use the same version of the SFTPCOMInterface.dll used by EFT Server to which SAT is connecting. Upgrading EFT Server might require also updating the SFTPCOMInterface.dll for the SAT module. Refer to the Secure Ad Hoc Transfer help for details.
-
If you are upgrading in a clustered environment, refer to Upgrading EFT Server in a Cluster or contact GlobalSCAPE support for assistance.
-
When upgrading the WTC, workstations might receive a Java error, but then the WTC will load and be functional. Refer to KB article#10654 for details.
-
If you are upgrading from EFT Server SMB edition to EFT Server Enterprise, you may have to update the path to the .aud file in the Authentication Options dialog box for each Site. Refer to GlobalSCAPE Authentication or Changing and Testing LDAP Authentication Options for instructions, depending on the authentication type. When the EFT Server service starts, it looks for a .cfg file. If the .cfg file is not found, corrupted, or not compatible, EFT Server creates a new .cfg file in the default location. If the .cfg file is corrupted or the wrong version, the bad .cfg file is backed up and an error is written to the Event log. The .cfg file points to the Sites' .aud files. EFT Server searches for the .aud file near the ftp.cfg file if the path to the .aud file appears to be incorrect. You cannot edit the .cfg file.
-
New functionality has been added to the Web Transfer Client (WTC) and the Plain Text Client (PTC). End users will need to clear their browser cache: refer to KB http://kb.globalscape.com/KnowledgebaseArticle10654.aspx for more information.
-
The Folder Monitor Event Rule trigger was improved to provide better reliability for the handling of file events. The current Folder Monitor algorithm uses more resources (threads) than the v6.2 algorithm. EFT Servers with more than 250 Folder Monitor Rules should use the v6.2 algorithm, which uses fewer resources. The 6.2 Folder Monitor algorithm can be selected via a registry key.
-
If a Site uses the LDAP Authentication Manager, and if the users are allowed to change their passwords, LDAP calls are used to make the password changes. In v6.2, Active Directory calls were used to make the password changes. With the switch to LDAP in v6.3 and later, LDAP over SSL should be used to protect the password changes. LDAP over SSL can be difficult to configure, so setting the ChangePassByAD DWORD value to 1 allows you to continue using the Active Directory API for the password changes, which also provides security for the communication path.
-
The Event Rule file Copy/Move wizard provides control for overwrite options. The overwrite options were set in earlier versions using registry keys. Any associated registry keys will now be ignored and you should update your Event Rule Actions with the desired overwrite option.
-
Any scripts that use the v6.2 COM API for Timer Events must be updated to the new API.
-
The IP Access/IP Ban has increased functionality, and the COM interface has been modified to match the new functionality. Any scripts that use the v6.2 COM API for IP Access entries must be updated to the new API.
-
EFT Server supports PORT mode when using the SOCKS protocol to the outbound gateway/proxy. Event Rules that were configured for SOCKS PORT mode in v6.2, will switch from acting as a PASV mode connection to a PORT mode connection in later versions.
-
If NTLM v2 proxy authentication support is needed, the default HTTP client must be changed from the Apache HTTP client to the Java JSE HTTP client. The JSE HTTP client does not properly set the Content-Length for files > 2GB, so a custom X-Header is used to communicate the file size. Any HTTP proxy that is in the path between the browser and EFT Server must properly pass the custom X-Header.
-
FTP requires UPLOAD permission in addition to APPEND to resume a partial file transfer.
-
During the upgrade, if a non file-trigger rule contains an %FS.FILE_NAME% variable, it will be converted to %SOURCE.FILE_NAME% and a WARNING will record the change in the EFT.log. Refer to Variables (List) for more information about the %SOURCE.FILE_NAME% variable.
-
It is a good idea to read the Release Notes before you begin.
-
Document the administrator user name and password for the existing product. If you are also upgrading the database files, you will need the ARM database name, username, and password.
-
Close the administration interface and stop the EFT Server service.
-
As a precaution, back up the existing installation directories and any other files you may have installed elsewhere. If you are upgrading EFT Server Enterprise, run a backup and save that backup file in an easily accessed location or removable media.
-
Launch the installer. The Choose an installer page appears.
-
Click EFT Server or EFT Server Enterprise. The installer loads the required components, then the Welcome page appears.
-
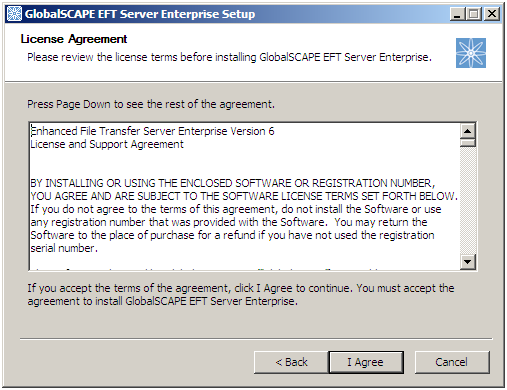
Click Next. The license agreement appears.
-
Scroll or page down to review the agreement, then click I Agree to continue. The license agreement is also saved in the EFT Server installation folder as "license.txt" if you want to read or print it later.
The installer will detect the existing installation of Secure FTP Server or EFT Server.
-
Click Upgrade to upgrade the existing configuration and copy your existing Sites, users, etc. to the new installation. (If you are upgrading a cluster, refer to Installing EFT Server in a Cluster. If this is a new installation, refer to Installing the Server, Administrator, and Modules.)
-
Click Next. The Choose Components page appears.
-
Click Next. The Choose Install Location page appears.
-
Specify the path at which EFT Server is currently installed, then click Next. The Choose data location page appears.
-
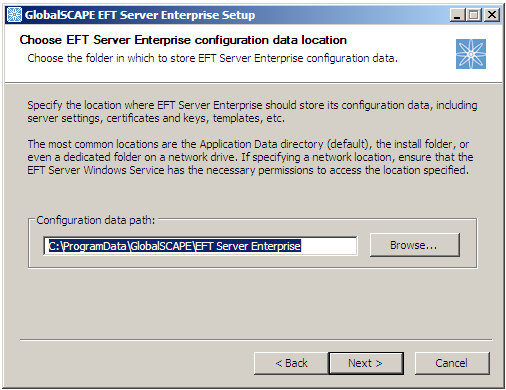
Specify the path at which EFT Server is currently storing its configuration data, then click Next. The Choose Start Menu Folder page appears.
-
Specify where to create the program's shortcuts on the Start menu, or keep the default of GlobalSCAPE.
-
Click Next. The ARM selection page appears.
-
If you do not want to configure auditing and reporting, click Skip auditing and reporting configuration, then click Next and the selected components will be installed.
-
If you want to configure auditing and reporting, click Configure auditing and reporting, then click Next.
-
If the installer finds a database for ARM data, you will be asked whether you want upgrade the current database or point to a different database.
-
Do one of the following:
-
The installer will test the database connection, if configured, then install EFT Server and components. When the wizard is finished, restart the Server service. The EFT Server service Log On as account will be set to Local System account by default. You can edit this in the service's Properties dialog box, on the Log on tab. (Start > Run > services.msc.)
After you have finished installing EFT Server Enterprise, uninstall
EFT Server basic edition. When you launch the administrator interface,
the following error message might appear: “Cannot find report definition file.
File Missing....” and lists several files. To resolve the issue, close
the interface, then execute the following commands in the C:\Program
Files\Globalscape\EFT Enterprise directory:
Reopen the interface and the message should no longer appear.