-
Close all unnecessary applications so that the installer can update system files without rebooting the computer.
-
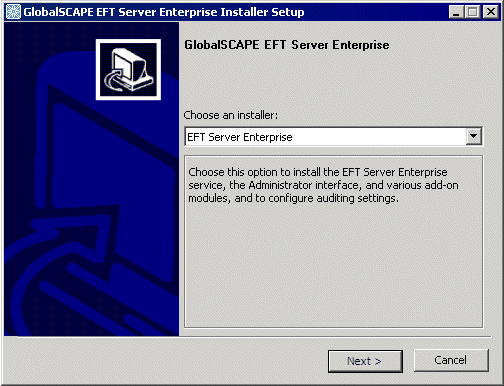
Start the installer, then click Next. The Choose an installer page appears. (Illustrations below show EFT Server Enterprise installation; the procedure is the same for EFT Server (SMB) edition.)
-
Click the list and then, depending on which edition of EFT Server you downloaded, click GlobalSCAPE EFT Server or GlobalSCAPE EFT Server Enterprise. (Selecting EFT Server or EFT Server Enterprise will also install each of the modules EXCEPT for DMZ Gateway and Secure Ad Hoc Transfer.)
-
Click Next.
-
If the prerequisites are not installed, you are asked to cancel so that you can install the prerequisites. For example, if you are missing .NET Framework and have Internet access, you are redirected to the .NET download page after you click Cancel.
-
-
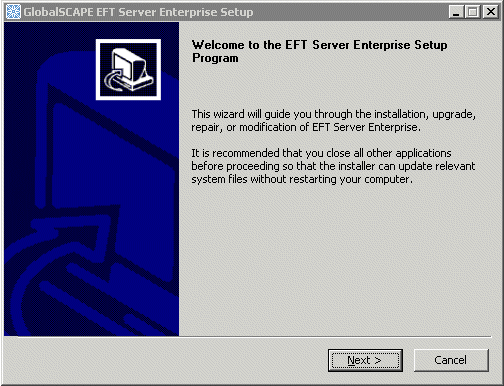
Click Next. After installation components are loaded, the Welcome page appears.
-
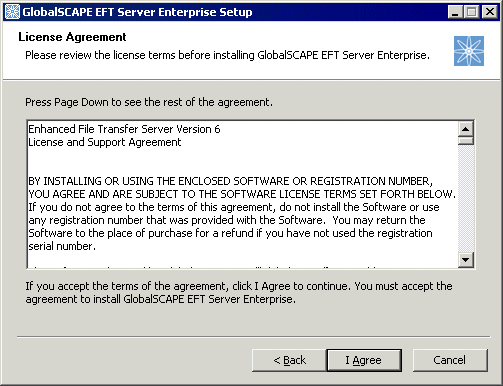
Read the Welcome page, then click Next. The License Agreement page appears.
-
Read the license agreement, then click I agree to accept it. The license agreement is also saved in the EFT Server installation folder as "license.txt" if you want to read or print it later. Clicking Cancel aborts the installation.
The Choose Components page appears.
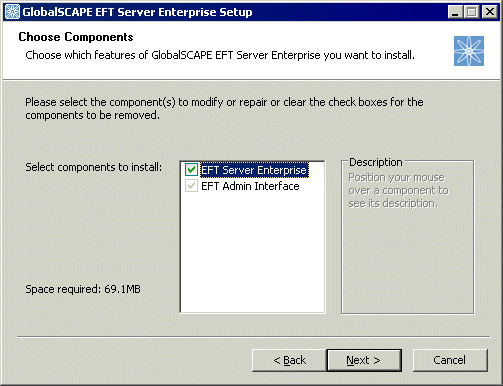
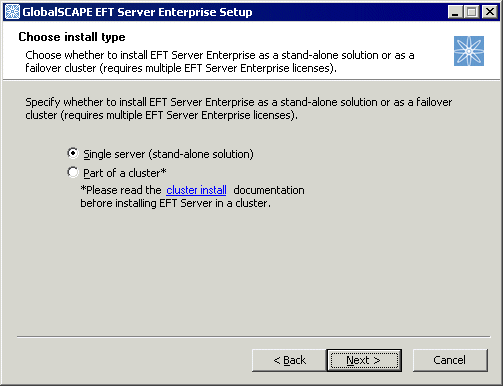
When you install EFT Server, you must also install the EFT Admin Interface. After you have installed EFT Server and administration Interface on one computer, you can install the administration interface on other computers for remote administration. The Installation type page appears.
-
Specify the installation type, then click Next.
-
Single server is the default installation type.
-
To install EFT Server as part of a cluster, review the cluster documentation, then click Part of a cluster. A message appears cautioning that it is important to read and understand the cluster documentation if you are installing EFT Server in a cluster. Refer to Installing or Upgrading the Server in a Cluster for the procedure for installing EFT Server in a cluster setup.
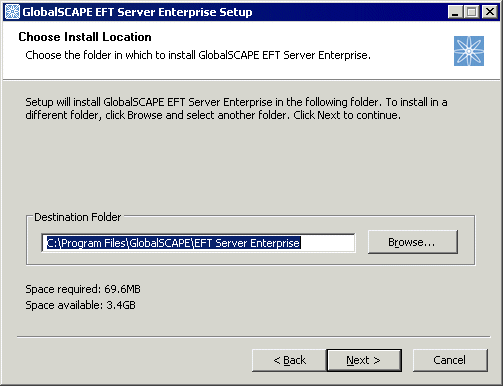
The Choose Install Location page appears.
-
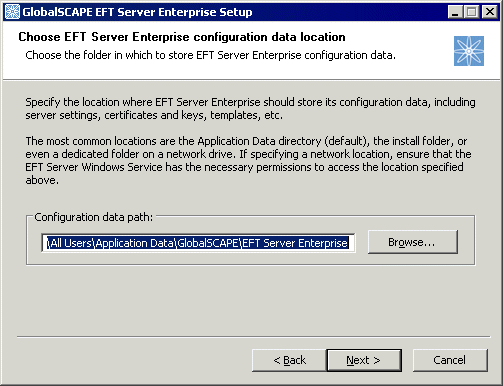
The default installation location appears in the Destination Folder box. Leave the default or click Browse to specify a different folder, then click Next. The Configuration File Location page appears.
-
Specify where you want to save EFT Server's configuration settings. For example, if you are installing in a cluster, you should specify a shared resource drive to synchronize settings across nodes. The EFT Server service must have permission to access the specified path. The default location is C:\Documents and Settings\All Users\Application Data\GlobalSCAPE\EFT Server Enterprise (or EFT Server). (On Windows 2008, Application Data files for all users are in a hidden folder named %systemroot%\ProgramData instead of under Documents and Settings\All Users\Application Data.)
-
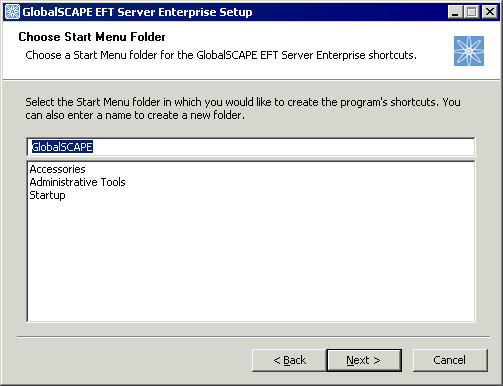
Click Next. The Choose Start Menu Folder page appears.
-
Keep the default shortcuts, specify an existing folder, or type a name for a new folder.
-
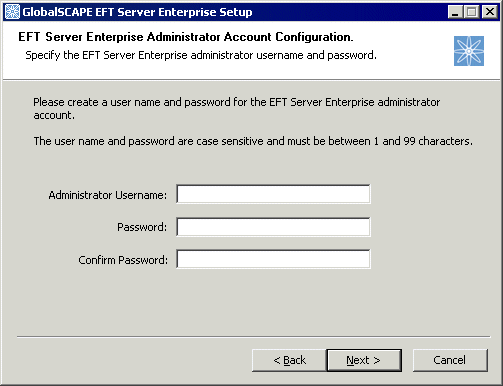
Click Next. The Administrator Account Configuration page appears.
-
Create a user name and password for the administrator account for connecting to EFT Server from the administration interface. Both the username and password are case sensitive.
-
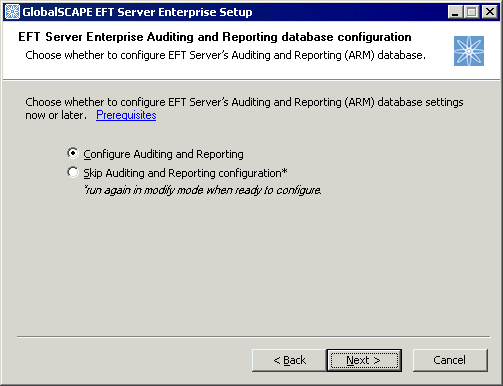
Click Next. The ARM selection page appears.
-
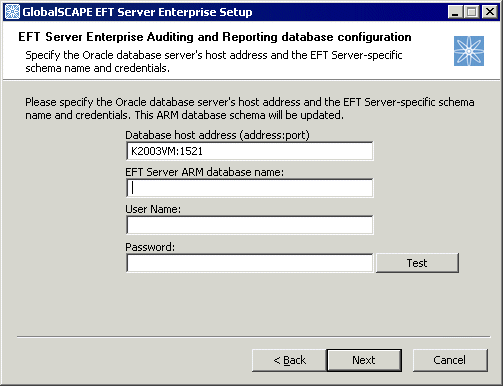
If you want to configure auditing and reporting, click Next.
-
If you do not want to configure auditing and reporting, click Skip auditing and reporting configuration, then click Next and skip these steps.
-
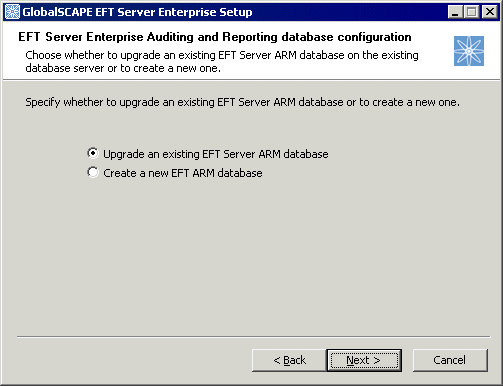
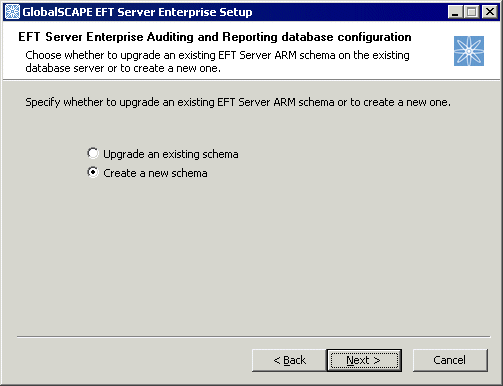
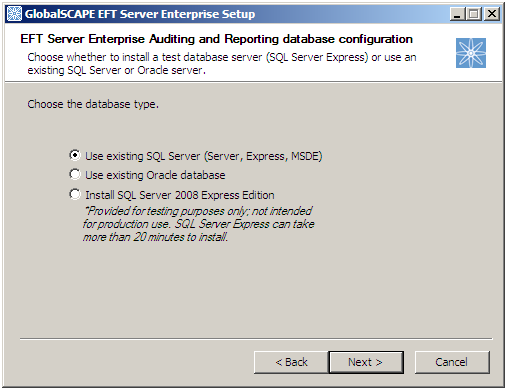
Specify the type of database to which EFT Server is to connect. A log file is created for troubleshooting purposes during the database install/upgrade process in C:\Windows\Temp\EFT_DB_Install.log.
-
Click Next.
-
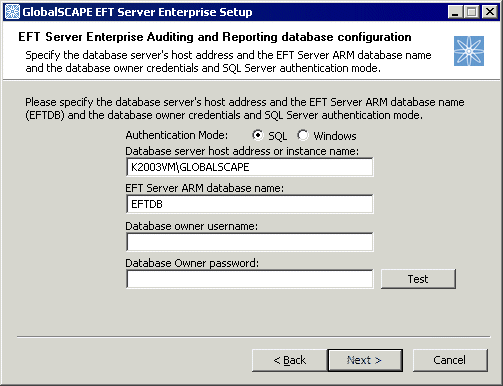
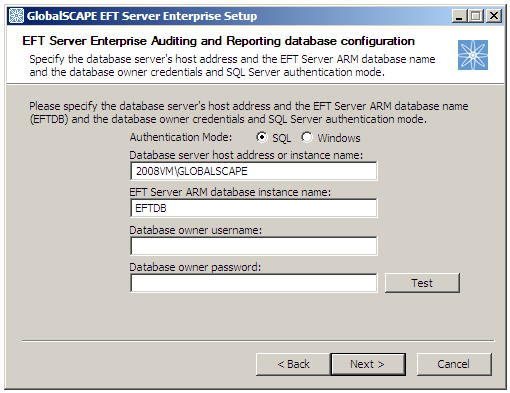
If you chose an existing database, the installer tests the connection. If the connection fails, you can go back and verify the information or continue without configuring the connection.
-
If you chose to install SQL Server Express, the SQL Server installer starts.
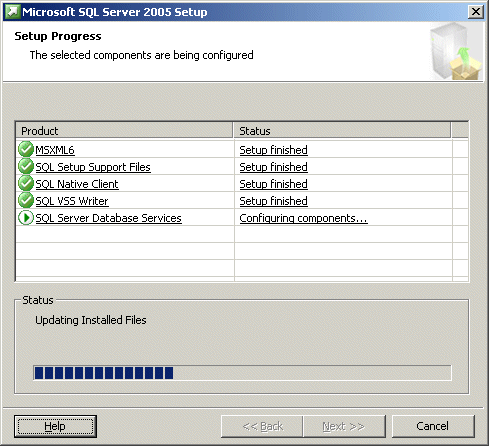
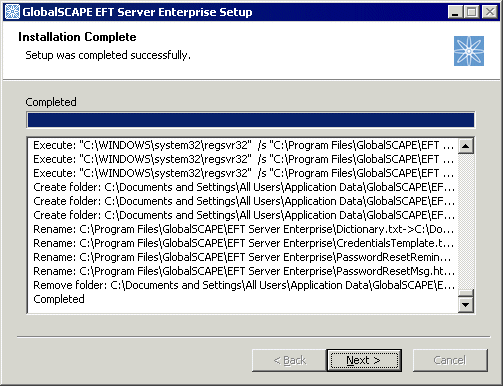
The installer installs the options that you selected, then the Installation Complete page appears.
-
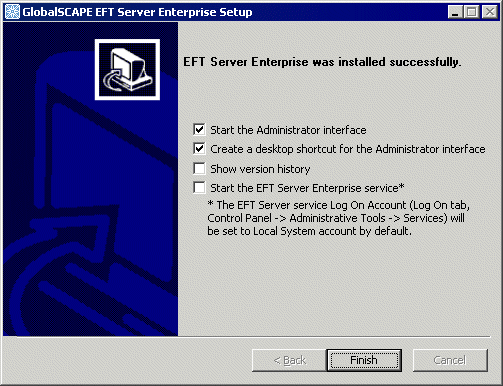
Click Next. A page appears allowing you to start EFT Server, create a shortcut to the administration interface on the desktop, open the administration interface, and/or view the EFT Server version history.
-
Start the Administrator Interface - If you do not want to open the interface, clear the check box. You can also open the interface from the Start menu.
-
Create a desktop shortcut - An administration interface shortcut is created on the desktop by default. If you do not want to create a shortcut, clear the check box.
-
Show version history - If you want to read the release notes, select the Show Version History check box. If you want to read it later, the file, notes.txt, is stored in the EFT Server installation directory.
-
Start the EFT Server Service - Clear the check box if you do not want to start the Service yet. Select the check box if you want to start the service when you click Finish. The service is configured to start automatically when the computer starts. If you do not want the service to start automatically, you will have to configure it in Windows to start manually. The EFT Server service Log On Account is set to "Local System account."
-
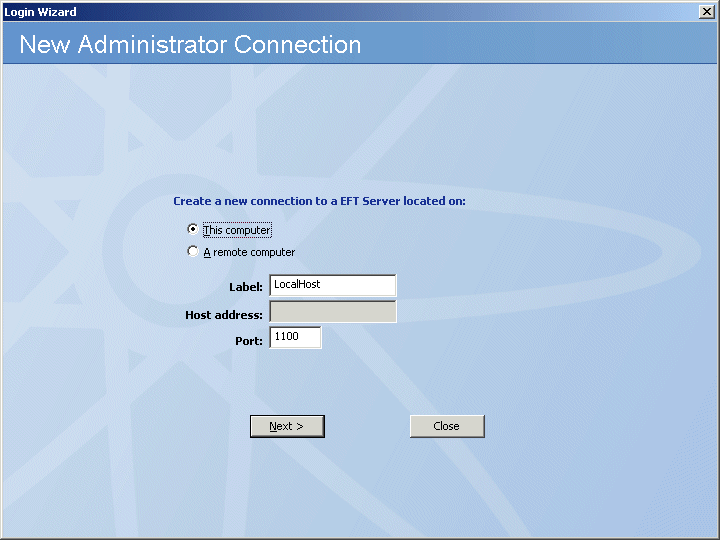
Click Finish. If the administration interface check box was selected and the EFT Server service was started, the Login Wizard appears.
-
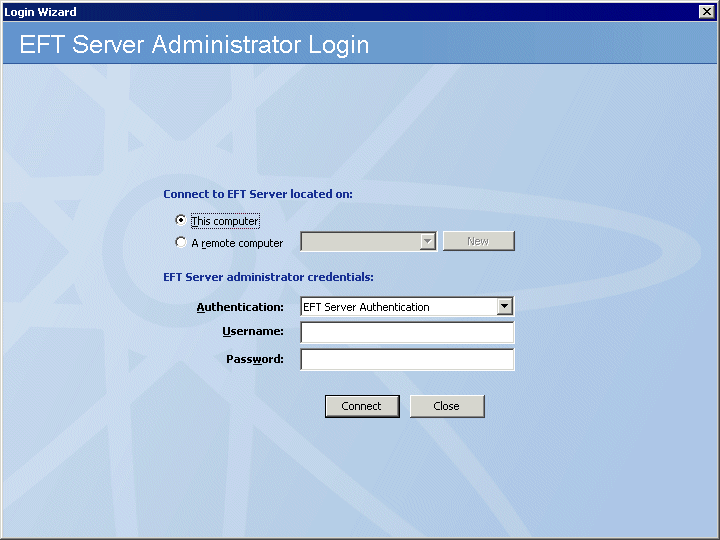
Leave This computer selected, then click Next. (You must create a local connection first. Then later you can create remote connections, if you want.) The EFT Server Administrator Login page appears.
-
Click the Authentication box and specify the type of authentication to use for this login. Future connections will default to the authentication type that you specify during this initial login, but you can choose a different type. Authentication types include:
-
EFT Server Authentication - Choose this option to log in with an EFT Server-specified administrator account, such as the one you created during installation.
-
Integrated Windows Authentication - Choose this option to log in with an Active Directory or local Windows account.
-
Windows NET logon - Choose this option to log in with a local Windows account.
-
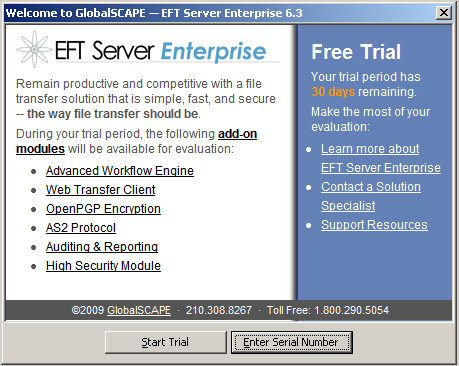
In the Username and Password boxes, provide the login credentials that you created during installation, then click Connect. The Welcome page appears. Since you have not yet activated the software, the "Free Trial" reminders appear. After you activate, you will not see this prompt.
![]()


