Organizing Tasks & Folders
Overview
An important part of using Task Administrator is for the purpose of creating new tasks and managing, deploying or manually running existing ones. Task Administrator displays a hierarchical structure of connections, folders, subfolders and managed tasks, therefore, allowing you to effectively organize your library. For example, you can create your own visual hierarchy of folders to better organize tasks that have parent and child relationships. Keeping your tasks organized this way emulates the way databases operate and helps you to store and retrieve important data quickly and efficiently. In addition, you can bring instant order to your tasks and folders by changing how they are displayed, sequencing them to suit your needs or creating visual breaks for easy recognition.
When remote connection is established, Task Administrator displays folders and tasks that reside on a remote client (or Runtime component). This enables you to copy, move, rename or deploy tasks between local and remote connections.
Creating & deleting managed tasks & folders
Task Administrator enables easy creation of new tasks and folder as well as easy removal of unwanted tasks or folders. When deleting any objects, for security purposes, a prompt will always appear confirming deletion.
To create a new task
-
Create or select the folder you wish to place the new task.
-
Click the New button located on the top panel or right-click an empty space inside the folder and select New> Managed Task. There are several ways to create a managed task:
-
Creating a Task Using the Wizard (default option)
-
Creating a Task Without the Wizard (preferred by experienced Automate Desktop developers and users)
To create a new folder
-
Find and click the folder in the console tree that you want to create a folder under. For example, if you are connected to the local Task Service and you want to create a subfolder in the root task folder, click the Local Tasks folder.
-
In the Top panel. click the New Folder button or right-click anywhere inside the main panel and select New > Folder from the shortcut menu.
-
Enter a name for the newly created folder.
To delete an existing task
-
Select the folder that contains the tasks to delete.
-
Right-click the task, and then select Delete . To delete multiple tasks within a folder, hold down CTRL during selection to highlight each task, then right-click the highlighted tasks and select Delete.
-
On the dialog that appears, select Yes to confirm your action.
-
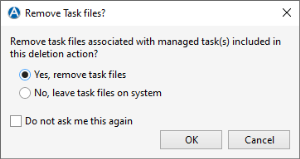
Another dialog will appear to prompt whether to delete the original task file associated with the managed task (as shown below). The task file is located in your default managed tasks folder. The path to the default managed tasks folder is C:\ProgramData\Automate Desktop2024\Tasks. Select OK to remove the task file or Cancelto leave the task file in the system.
To delete an existing folder
-
Find and select the folder in the console tree to delete. To choose multiple folders, hold down CTRL during selection.
-
Right-click the folders, and then select Delete .
-
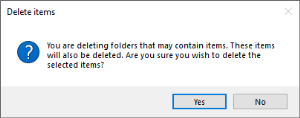
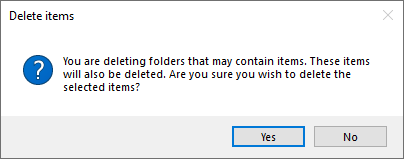
If the folders you wish to delete presently contains subfolders, a dialog will appear informing you of this and prompting whether to continue with the operation (as shown below). Click Yes to continue.
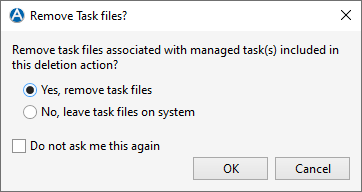
- If the folders you wish to delete contains managed tasks, a separate dialog will appear prompting whether to delete the original task files associated with them. Select Yes to remove the task file or Cancel to leave the task file in the system.
- Click OK to complete the operation.
Cutting, copying, and pasting managed tasks and folders
You can cut, copy and paste in Task Administrator to move items or copies of items to other locations. Using the cut, copy, and paste features allows you to organize the tasks and folders within your library quicker and easier. You can also use drag-and-drop to perform the same operations.
To move one or more tasks or folders to another folder
-
Navigate to the folder that contains the tasks or subfolders to move.
-
Right-click the tasks/subfolders and select Cut from the shortcut menu. To select multiple tasks/subfolders, hold down CTRL during selection.
-
Right-click the folder you want the tasks/subfolders moved to and select Paste.
To copy one or more tasks to another folder
-
Navigate to the folder that contains the tasks or subfolders to copy.
-
Right-click the tasks/subfolders and select Copy from the shortcut menu. To select multiple tasks/subfolders, hold down CTRL during selection.
-
Right-click the folder you want the tasks/subfolders copied to and select Paste.
Searching for managed tasks
The top right section of Task Administrator's main panel contains an intuitive search dialog that provides dynamic filtering, allowing you to enter all or part of a task's name and view only the ones that contain matching text. The list of tasks that appear are updated as you type.
To search for a task
- In the side panel, select the folder or subfolder in which tasks should be searched from. Click inside the search box.
- Type all or part of the task name you want to search for. The list of relevant tasks narrow as you type each letter.
- To clear the search, click the magnifier icon on the right side of the search box or press ESC.
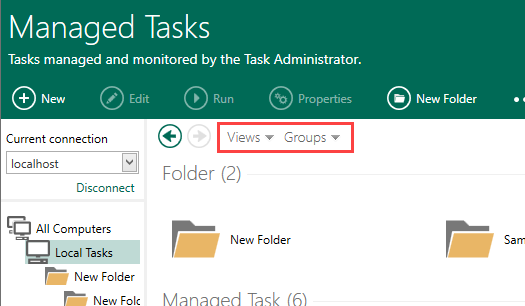
Customizing views and groups
The Task Administrator's main panel is something that is constantly being used. Finding the display configuration that best suits your personal pattern of usage can make computing easier and more efficient. The contents of the Managed Tasks view can be customized in a number of ways. One way is by choosing how the list of tasks and folders will be represented or displayed. Another way is to choose how tasks and folders will be arranged. These settings can be customized by way of the Views and Groups options displayed below.
To modify the current view
Perform one of the following:
- Click the View button to toggle through the available view settings.
- Click the Down arrow next to the View button and select the desired view from the drop-down list that appears.
Available views
The following table describes the various views:
| View | Description |
|---|---|
| Tiles | The default view which uses large icons. |
| Icons | Uses smaller icons with the task/folder name shown directly below the icon. |
| List | Displays a simple list of available tasks and folders. |
| Details | Displays a list in a table format that includes various task and folder properties. Helpful for sorting. |
To enable/disable grouping of tasks and folders
- Click the Down arrow next to the Groups button.
- Select the option Show in Groups.A check mark next to this option denotes that grouping is enabled.
To group tasks and folders based on a specific criteria
- Click the Down arrow next to the Groups button.
- Select the available group options that appear on the list.
Available grouping methods
The following table below describes the various grouping methods:
| Grouping Method | Description |
|---|---|
| Name | Tasks and folders are grouped by their name. |
| Type | Tasks and folders are grouped by type (whether they are tasks or folders). |
| Enabled | Tasks are grouped by whether they are enabled or disabled. |
| Result | Tasks are grouped on their last execution results (whether completed successfully, failed or aborted). |
| Status | Tasks are grouped on their current status (whether in an idle or running state). |