If you are upgrading, refer to Upgrading the Software for important guidelines
If you are installing WAFS in a cluster, refer to Installing WAFS in a Cluster.
Install the WAFS Vault and one Agent in a central location, then, using the same installer, install Agents on other computers that need to access that same data. When installing on Windows 2008 Server and Windows 7, install WAFS using the administrator account or turn off UAC.
If you are upgrading, refer to Upgrading the Software for important guidelines If you are installing WAFS in a cluster, refer to Installing WAFS in a Cluster. |
To install WAFS
Start the installation file (WAFSInstaller.msi). The Welcome page appears.
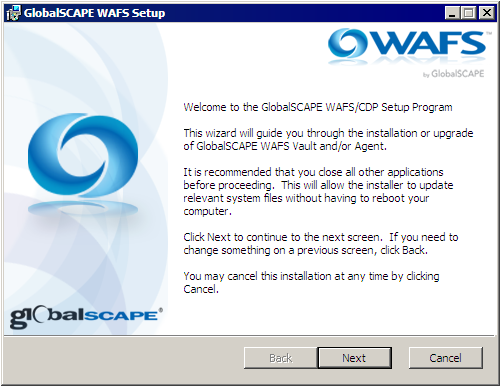
Click Next. The License Agreement appears.
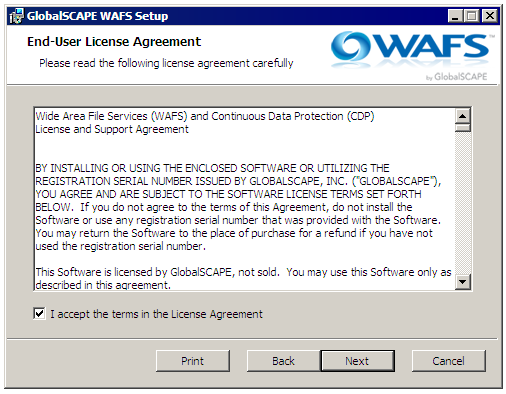
Read the agreement, select the check box to accept it, then click Next. The Custom Setup page appears.
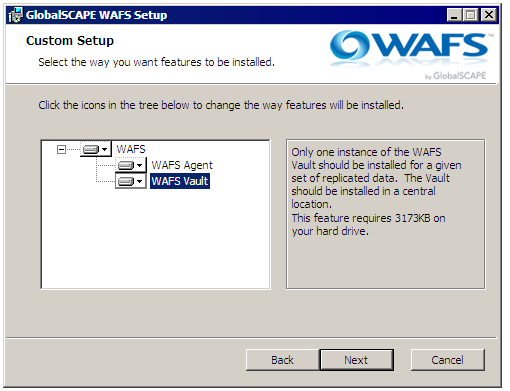
Do one of the following:
To install both the WAFS Vault and a WAFS Agent, click the WAFS hard drive icon, and then click Entire feature will installed on local hard drive.
To install only the
WAFS Vault, ensure that the WAFS
Agent hard drive icon has a red X on it ![]() .
.
To install only the
WAFS Agent, ensure that the WAFS
Vault hard drive icon has a red X on it. ![]() .
.
Click Next. The Configure WAFS Vault page appears.
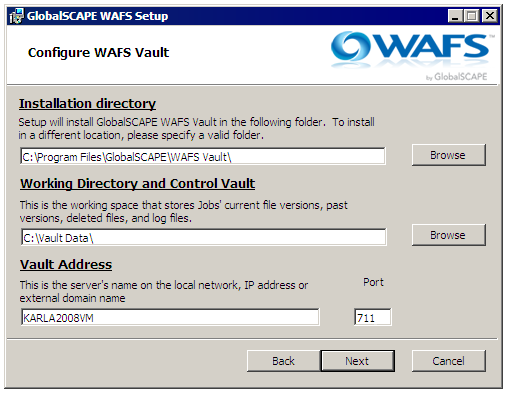
The WAFS Vault is installed in C:\Program Files\GlobalSCAPE\WAFS Vault\. To specify a different location, click Browse, and select a different location.
The Working Directory and Control Vault is installed by default n C:\Vault Data\. To specify a different location, click Browse, and select a different location.
If you are installing the Vault in a cluster, be sure to specify the shared storage location that you set up for the cluster nodes. You must point each clustered Vault to the same shared storage location so that when one node fails, the other node can access the shared Vault data location. |
The Vault Address is the computer name, IP address, or external domain name, and default Port is port 80. If you need to specify a different port, specify it in the Port box. (For example, if IIS is using port 80, you could use port 711.)
If you are installing the Vault and the Agent on the same computer ("colocated") for CDP failover with a backup Agent, use the Vault's IP address for the Vault address. |
Click Next. The Select Location to Install WAFS Agent page appears.
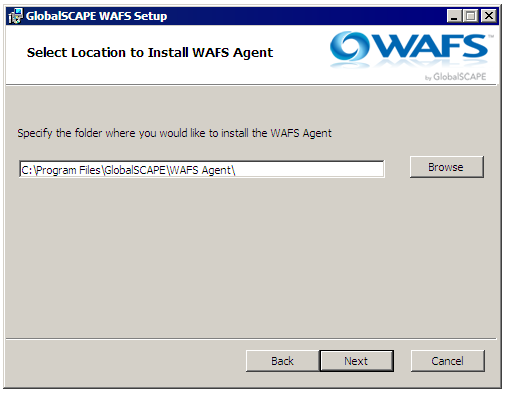
The WAFS Agent is installed in C:\Program Files\GlobalSCAPE\WAFS Agent\. To specify a different location, click Browse, and select a different location.
Click Next. The WAFS Vault Activation page appears.
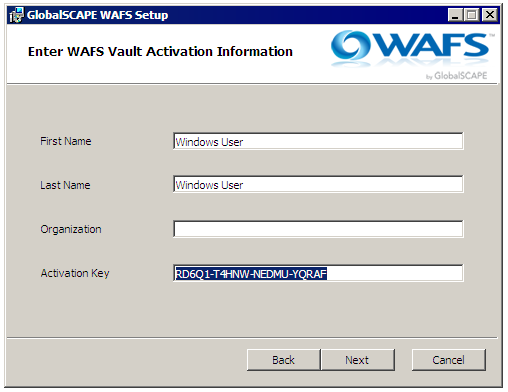
An Activation Key is automatically assigned during the initial installation for trial purposes. If you have purchased a license, you can provide it in the Activation Key box, along with your First Name, Last Name, and Organization. (Providing this information now can expedite any support requests later.) If you have not yet purchased a license, you can install WAFS with the trial license for 14 days; the trial is limited to 3 Agents and 50GB.
Click Next. The Ready to install page appears.
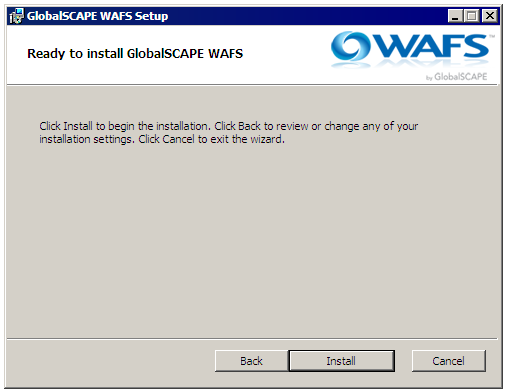
On this page, you can click Back if you want to review or change any settings, or click Cancel if you do not want to install. Otherwise, click Install.
The product is installed and icons are placed on the desktop and Start menu. After installation is complete, the success page appears.
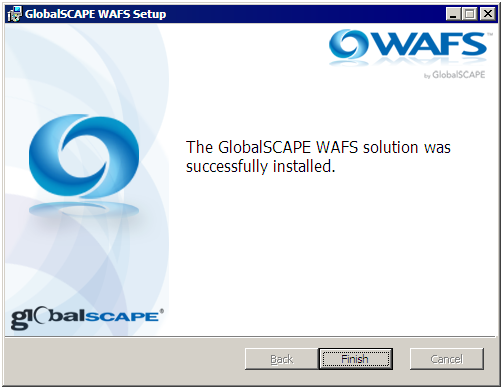
Click Finish. A message appears asking if you want to reboot now or later.
Click Yes to reboot now and complete the installation or click No if you want to reboot later.
Save the WafsInstaller.MSI file; the same installer that you used to install WAFS can be used to change, repair, or remove WAFS.
Review the following topics for important information, including how to:
Change the default administrator login account from the default of iDisk/root.
Create user accounts so that only approved users can access the data.
Manage the Job’s data, including retrieving past versions or deleted files, using the Server’s web interface.
Unlink a given folder from a Job. You may also want to remove a Job from the Server altogether.
Use Local Sync for replicating large amounts of data more efficiently.
Configure advanced features. (For example, if you are using WAFS with Revit, refer to Using Revit with GlobalSCAPE WAFS.)
Configure the software to work with Microsoft XP, IIS, and antivirus software
Manage the data, including retrieving past versions or deleted files, using the web interface.