In EFT Administrator, connect to EFT Server and click the Server tab.
Do one of the following:
Click a Site or any node below the Site, then on the main menu, click Configuration > Create New User Setting Level.
Click the User Setting Levels node, then, in the right pane, click New.
Right-click a Site or any node below the Site, then click Create New User Setting Level.
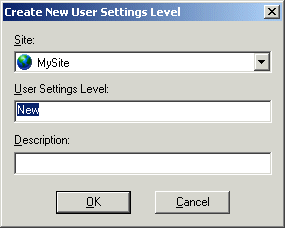
The Create New User Settings Level
dialog box appears.

In the Site box, click the down arrow to select a Site.
In the User Settings Level box, type a name for the new User Settings Level.
Optionally, type a Description for the User Setting Level. For example, type: Web Transfer Client users.
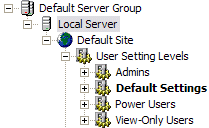
Click OK. The
new User Setting Level appears under the User
Setting Levels node.

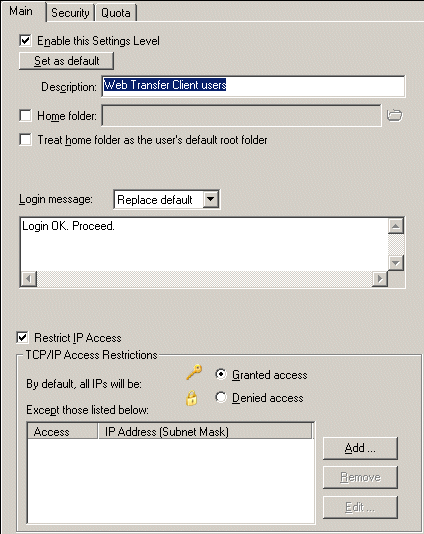
Click the new User Setting Level, then click the Main tab.

The User Setting Level is enabled by default. To disable it, clear the Enable this settings level check box.
If this is to be the default settings level, click Set as default. The settings level name in the tree becomes bolded.
In the Description box, the name you typed in the Create New User Settings Level dialog box appears. If you did not type a name, you can type one here (optional).
See Specifying a User's Home Folder for details about specifying the home folder. This setting affects all users assigned to this User Setting Level. If you want to ensure that the User Setting Level is not controlling the user's home folder, clear the Home folder check box.
In the Login message box, click the appropriate action from the drop-down menu above the text box, then, if necessary, edit the Login Message in the text box. The available actions include:
Use default - Use the default login message (specified in the Default Settings node of the User Setting Levels).
Add to default - Add the message in the text box to the default login message.
Replace default - Replace the default login message with the message in the text box.
None - Do not display a login message.
Select the Restrict IP Access check box if you want to use the TCP/IP Access Restrictions area to restrict access to EFT Server by IP address. Then see Controlling Access by IP address for details of using this feature.
Click the Security tab. The User Settings Level inherits the settings from the Site, but you can override the settings. For information about the settings on this tab, refer to the following topics:
Security:
Protocol permissions:
Click the Quota tab. The User Settings Level inherits the settings from the Site, but you can override the settings. Refer to the following topics:
Transfer Limits:
Connection:
Disk Quota:
Click Apply to save the changes on EFT Server.